利用者:TylerD1/Nap Guide Curves
目次
Nap Guide Curves
Introduction
This tutorial was written to help introduce and explain what the addition of the nap feature for guide curves can be used for in Blender, and how to get off the ground with this new feature.
Why It Was Made
The recent additions of strand mapping and guide curves have allowed greater control and quality when using Blender's particle system to generate fur and hair. To emulate the shape of a strand of hair/fur currently seems to be done by using the X,Y,Z force controls in the particle emitter menu. This method does not work effectively for all faces of most objects though, nor does it follow deformations. Therefore, it seemed to me that an addition was needed to the particle/guide system to add this functionality. The intent of this addition is to allow control over the shape of the hair/fur strands in a specific area and to allow control over the general orientation (nap) of these same hair/fur strands.
What It Is
The changes can be found in two menus:
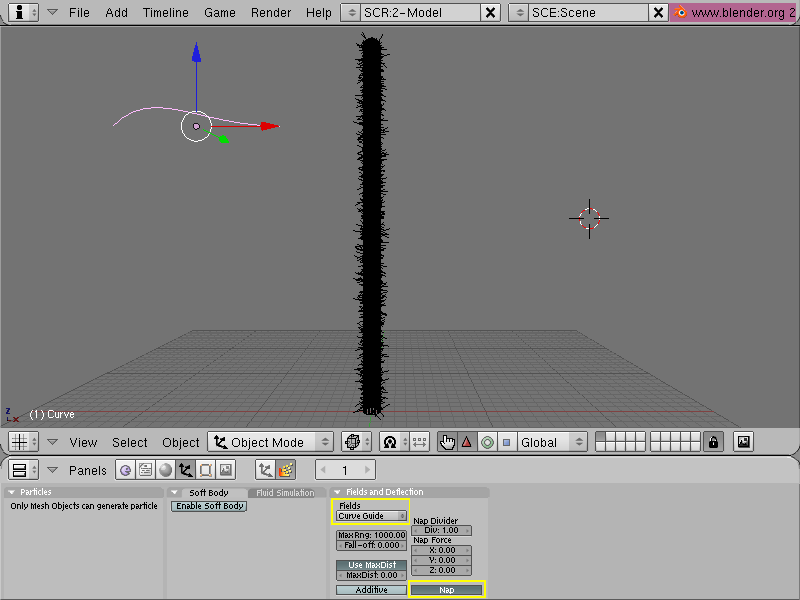
- the Fields and Deflection menu with the Fields drop-down menu set to Curve Guide
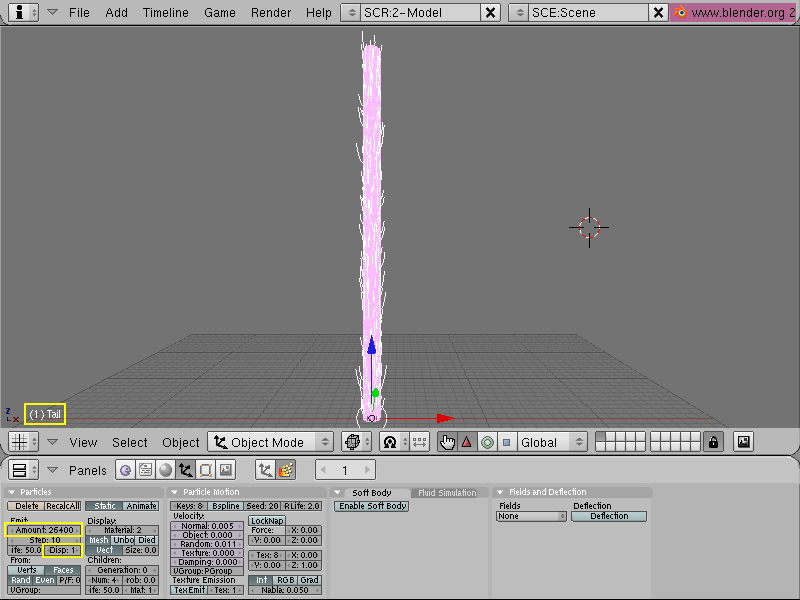
- the Particle Motion tab when a particle emitter exists
How It Works
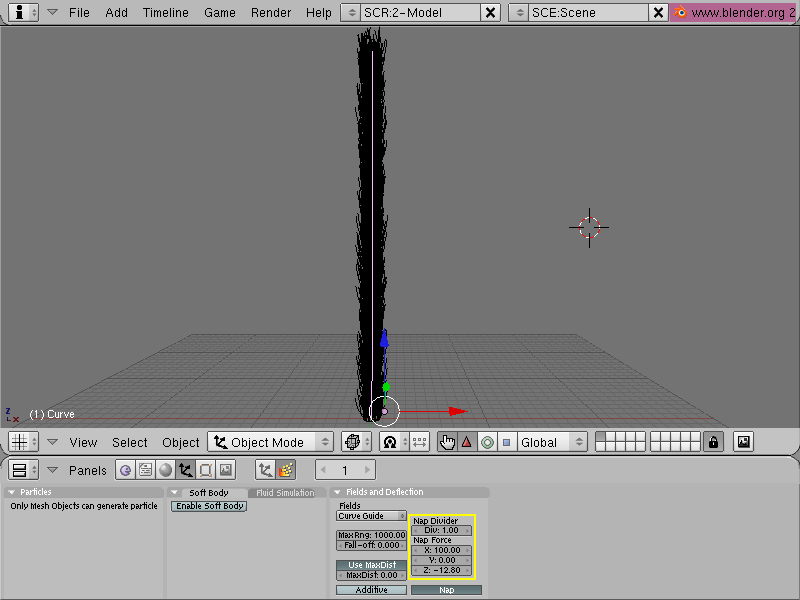
A guide curve is used to indicate the direction in which the strands should be oriented (i.e. the nap of the fur/hair). The X,Y,Z values under the Nap Force area of the Fields and Deflection panel apply forces on each strand relative to the face from which it is being generated. These X,Y,Z force controls are used to control the shape of the strands. The X,Y,Z nap forces are from -100% to 100% of the current speed set for Normal in the Nap Force area. The Fall-off value controls how fast the influence of the nap guide decreases with respect to distance from the guide curve. The MaxRng sets the maximum distance that the guide curve will have an influence. The Div value in the Nap Divider area controls how much the X, Y, and Z Nap Force values are divided by (the default is 1). The Div value can be used to decrease (> 1) or increase (< 1) the X, Y, and Z Nap Forces being applied. Multiple nap guides can be used and mixed to control nap direction on different parts of the object. Once this data has been set as desired, the data can be locked to allow deformations (i.e. via armatures) while still preserving the shape and orientation of the fur/hair.
A positive X nap force will influence the particles in the direction that the nap guide curve is pointing. A positive Z nap force will influence the particles away from their respective faces (in the direction of the face normal). A positive Y force will influence the particles toward the axis that is the cross product of the X and Z axis.
Getting Off the Ground
To get an initial idea of how to use the Nap Guide Curves feature, this tutorial will cover creating the fur for a feline tail. The tutorial presumes that the user has a moderate amount of experience with Blender and does not cover all details (i.e. creating/setting materials, creating and shaping a mesh, animating an object, rendering).
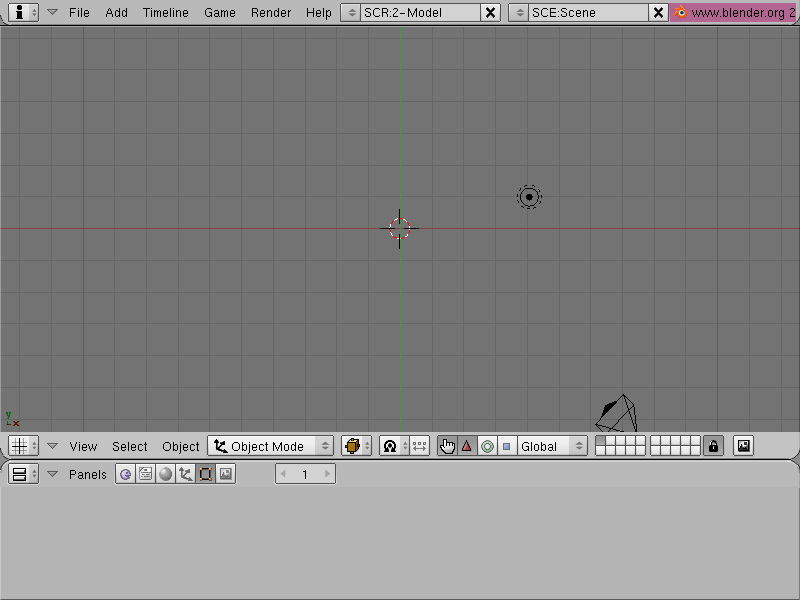
1.) Open a new, default scene and delete the default cube object
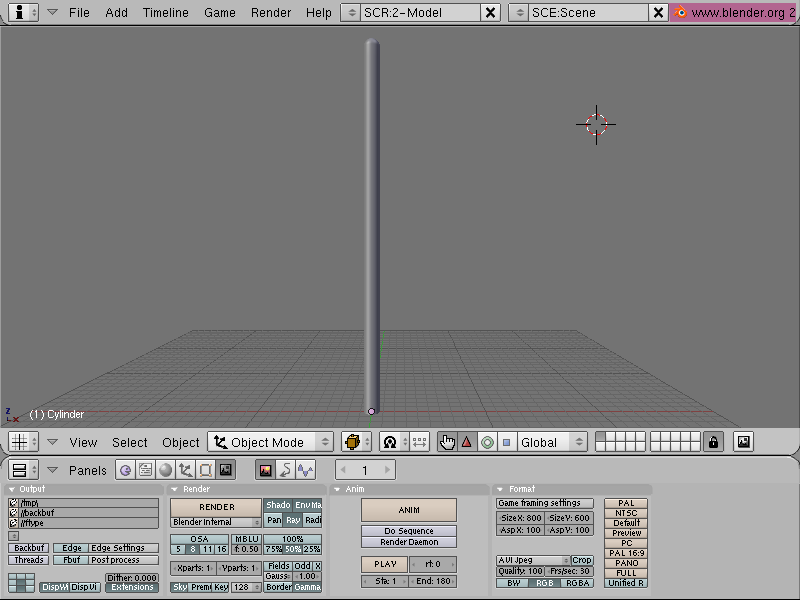
2.) Create/import the mesh you want to add fur/hair to
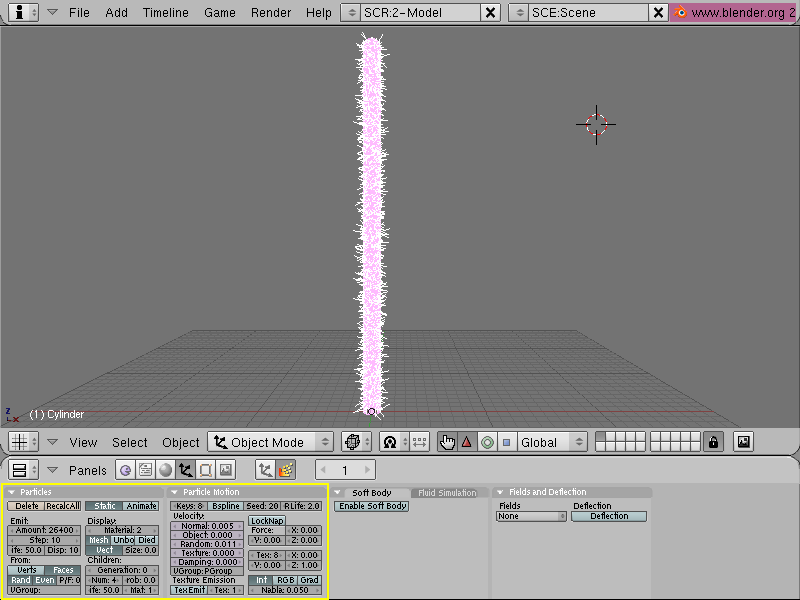
3.) Set up the particle emitter
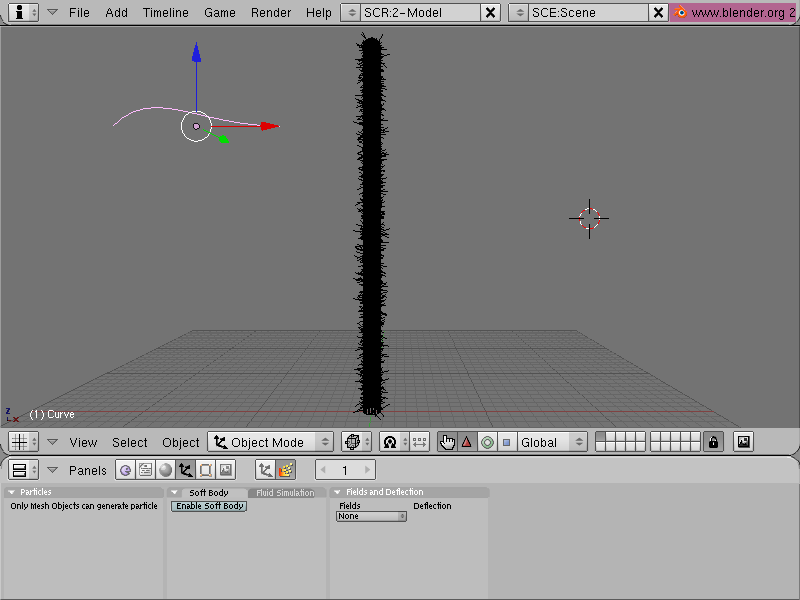
4.) Add a Bezier Curve
5.) Set this curve as a guide curve and press the nap button for this curve
6.) Position curve points in edit mode as desired for nap direction and set Nap Force settings
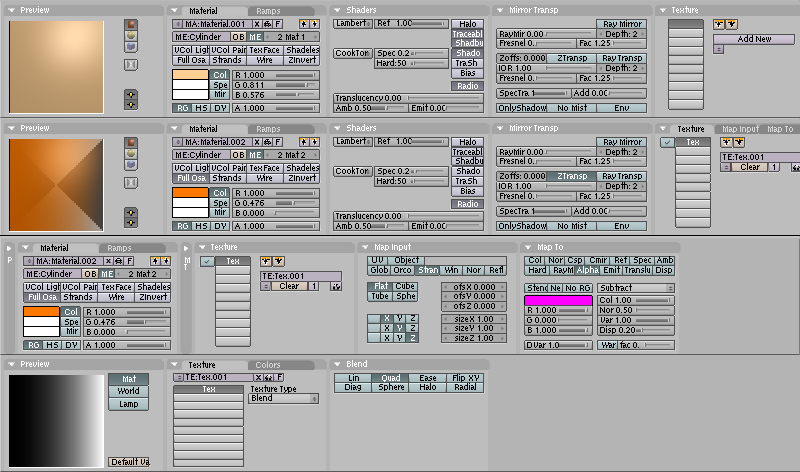
7.) Set up materials for emitter and particles (material 1 in the picture is for the emitter mesh, material 2 is for the particles)
8.) Once the changes look good, set the # of particles to the final amount desired and set Disp to 1%. Also set the emitter mesh name as desired
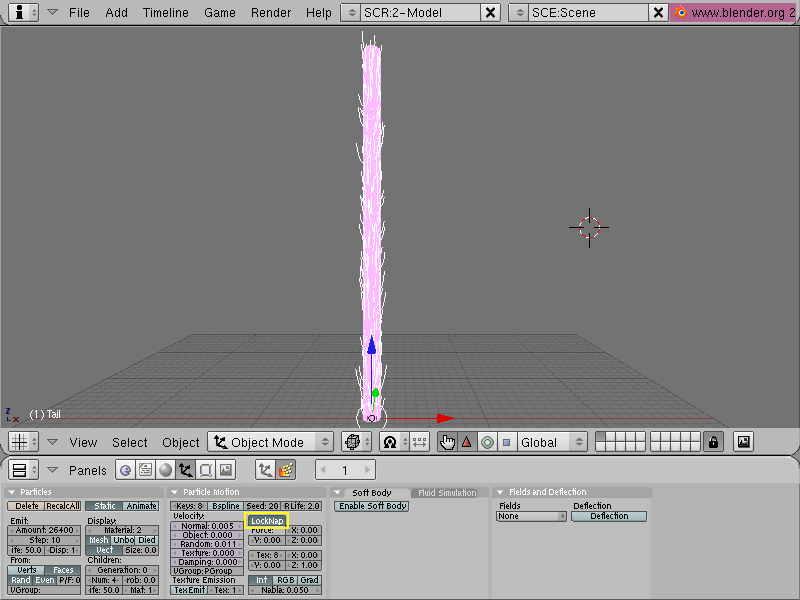
9.) Press the LockNap button for this particle emitter
10.) Set up armatures/animations as desired
Render!
A movie version of this rendering is available in 320x240 and 640x480 resolutions and runs for 5 seconds:
320x240 (2.2 MB) size movie at http://tylerd1234.googlepages.com/moviesmall.avi
640x480 (6.5 MB) size movie at http://tylerd1234.googlepages.com/moviebig.avi
Notes About This Tutorial
- The movie that is linked uses several tweaks to avoid the problem of overspiking at the tip of the tail (which is slightly noticeable on the rendered result shown above). The tweaks mainly involve setting the vertex groups in the "Particles" and "Particle Motion" menus, and using weight painting to taper the speed/density near the tip. The falloff and location of the nap guide curve can also be adjusted (before you set the nap lock) to minimize the overspiking.
Notes in General
- Once the LockNap button is pressed, all of the particle settings on the particle emitter are locked out and cannot be changed until LockNap is turned off (similar to the way the softbody "bake" button works)
- When the LockNap button is pressed, the data to recreate the nap directions is saved to several files (starting with "nap" in the file name and stored according to the object's name). These files are not deleted so that the nap data can be reloaded later for a given object. Currently all of these files are stored in the same directory as the blender executable file.
- Changing the name or deleting the nap data files will require re-doing the nap lock
- This patch also includes a fix for a minor even distribution bug (all particles cluster on one face of the default cube when particle # is set to a multiple of 6)
- The LockNap button will not appear unless "Verts" is off in the "Particles" menu
- Nap guides are useable in static and non-static particle modes
- "Use Maxdist" (on the guide curve menu) is forced to on while nap is on to prevent the normal guide curve from influencing the particles (the MaxDist value should be left at zero)
- After the nap lock is engaged, at least one particle effector (guide curve, nap guide curve, etc.) must remain in the scene
- This tutorial is currently based off of 2.4 + nap patch + cvs (a checkout late on Jan. 18, 2006)
Current Status
May 16, 2006
- Integration of nap guide code seems to be working okay with a cvs nightly build from less then a week ago, preparing to generate a patch and hopefully submit it to the patch tracker by the end of the week
- Updating the tutorial with the new workflow and menu layouts
May 8, 2006
- Migrated this Wiki page from my user page to the BlenderDev area
- Currently integrating the nap guide code with a recent cvs version
- Adding a nap normal force so that the particle emitter's normal force won't have to be set to use nap guides
- Adding an option to specify where to save the nap data files that are created and used for nap guide information
- Determining suitable button locations for the current menu layouts
- Continuing to test and check for possible improvements


