Doc:2.6/Manual/Rigging/Armatures/Panels
< Doc:2.6 | Manual | Rigging | Armatures(Doc:2.5/Manual/Rigging/Armatures/Panelsから転送)
Armature Panels Overview
Mode: Object mode, Edit mode and Pose mode
Panel: All in Properties window, Object data property
Let’s first have a general overview of the various panels gathering the armature settings, in Properties window, Object data context:
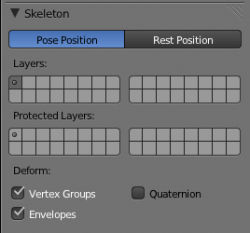
Skeleton panel (all modes)
- In this panel you can arrange sets of bones into different layers for easier manipulation.
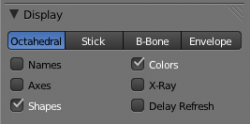
Display panel (all modes)
- This controls the way the bones appear in 3D view; you have 4 different options you can select.
- There are several other options available which we will cover later on.
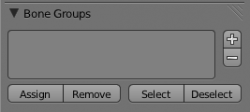
Bone groups panel (pose mode)
- Lets you assign sets of bones into groups for easy manipulation and management.
Pose Library panel (Pose mode)
- Allows you to save different settings (location, rotation, scale) for selected bones for later use.
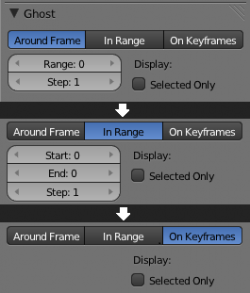
Ghost panel (all modes)
- Allows you to see a set of different consecutive poses, very useful when animating.
iTaSC parameters panel (all modes)
- Defines the type of IK solver used in your animation.
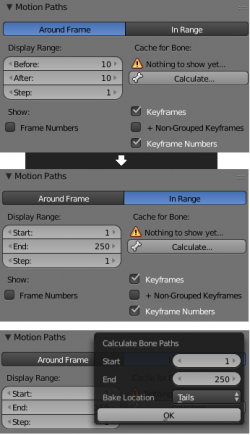
Motion Paths panel (Pose mode)
- In this panel you can enable visualization of the motion path your skeleton leaves when animated.
Custom Properties panel (all modes)
- Panel for defining custom properties; this is used when scripting.
Bone Panels Overview
Mode: Object mode, Edit mode and Pose mode
Panel: All in Properties window, Bone property
Let’s first have a general grasp of the various panels gathering the bone settings, in Properties window, Bone context:
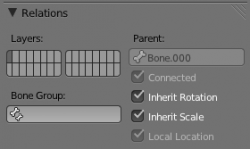
Relations panel (edit mode)
- In this panel you can arrange sets of bones in different layers for easier manipulation.
Display panel (object mode)
- Display panel lets you customize the look of your bones taking the shape of a another existing object.
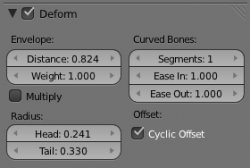
Deform panel (all modes)
- In this panel you can set basic properties of the bones.
- Turning the Deform option on and off, includes the active bone in the Automatic Weight Calculation when the Mesh is Parented to the Armature using the Armature Deform with the "With Automatic Weights" option.
- Also it's worth noting that by turning off a bone's deform option, makes it not influence the mesh at all, overriding any weights that it might have been assigned before; It mutes its influence.
Custom Properties panel (all modes)
- Panel for defining custom properties, this is used when scripting.
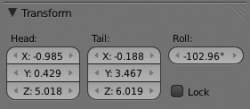
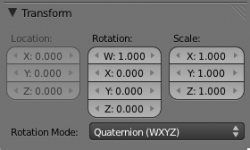
Transform panel (edit and pose mode)
- When in edit mode you can use this panel to control position and roll of individual bones.
- When in pose mode you can only set location for the main bone, and you can now set rotation and scale.
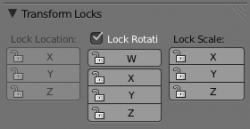
Transform Locks panel (pose mode)
- This panel appears only in pose mode and allows you to restrict position, rotation and scale by axis on each bone in the armature.
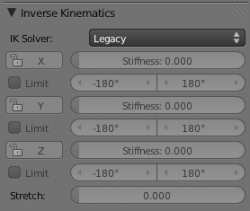
Inverse Kinematics panel (pose mode)
- This panel controls the way a bone or set of bones behave when linked in an inverse kinematic chain.
