「利用者:Sculptorjim/Materials/Other Options/Vertex Paint」の版間の差分
細 (1版 をインポートしました) |
|
(相違点なし)
| |
2018年6月29日 (金) 05:53時点における最新版
Vertex Painting
Vertex Painting is a simple way of painting color onto an object, by directly manipulating the color of vertices, rather than textures, and is fairly straightforward.
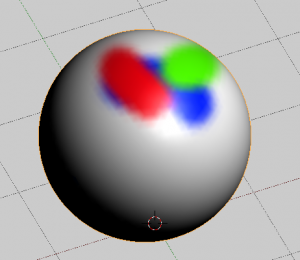
When a vertex is painted, the colour of the vertex is modified according to the rules of the 'brush'. The color of all visible planes and edges attached to the vertex are then modified with a gradient to the color of the other connected vertices. (Note that the color of non-visible faces are not modified).
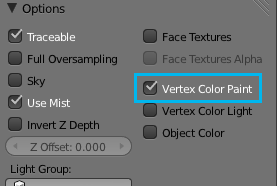
Vertex colors can be painted by switching to Vertex Paint Mode, however, it will not show up in the render unless you check "Vertex Color Paint in the Materials Options Panel.
Settings
The Tools Shelf, shortcut T contains most of the options for vertex painting. The following sections describe the controls in each of the available panels.
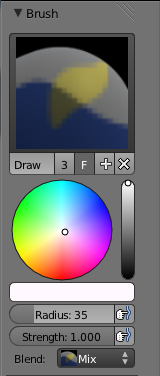
Brush
- Brush Datablock
- The image, name panel and color selector at the top allows you to select brush presets, rename brushes, as well as add custom brushes, and delete them.
- Radius
- Set the radius of the brush
- Strength
- Set the strength of the brush's effect.
- Blend menu
- Mix
- Mixes RGB values. When set to a strength of 1.0, it will cover the underlying "paint".
- Add
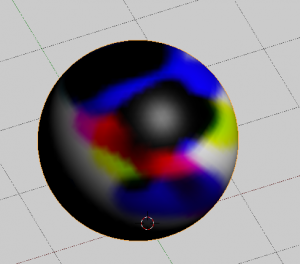
- Adds RGB values. Will eventually turn the entire object white as RGB values accumulate to 1.0-1.0-1.0: Pure White.
- Subtract
- Subtracts RGB values. Usually results in Black.
- Multiply
- Multiplies brush colors by the vertex colors.
- Blur
- Blurs vertex colors.
- Lighten
- Lightens the color of the vertices.
- Darken
- Darkens the color of the vertices.
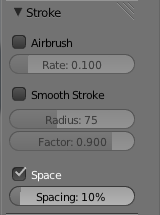
Stroke
- Airbrush
- Flow of the brush continues as long as the mouse click is held, determined by the Rate setting. If disabled, the brush only modifies the color when the brush changes its location.
- Smooth stroke
- Brush lags behind mouse and follows a smoother path. When enabled, the following become active:
- Radius
- Sets the minimun distance from the last point before stroke continues.
- Factor
- Sets the amount of smoothing.
- Space
- Creates brush stroke as a series of dots, whose spacing is determined by the Spacing setting.
- Spacing represents the percentage of the brush diameter.
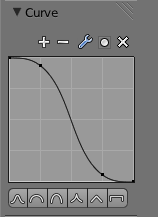
Curves
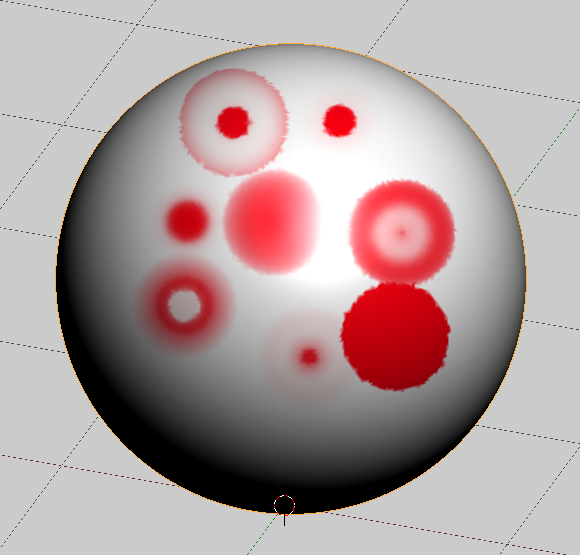
Brush Curves affect how strongly the color is applied depending on distance from the center of the brush. In other words, they allow you to edit the Falloff of the brush intensity.
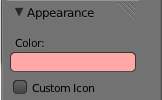
Appearance
Allows you to customize the color of the brush radius outline, as well as specify a custom icon.
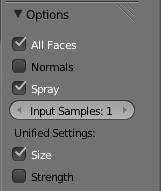
Options
- All Faces
- Paints all faces inside the Brush radius. With it off, only the face that's at the center of the brush will be colored.
- Normals
- Applies the Vertex Normal before painting. This does not usually affect painting.
- Spray
- Has bug! Continues painting for as long as the mouse is held.
- Unified Settings
- Size
- All brushes use the same size.
- Strength
- All brushes use the same strength.
