「利用者:Koilz/13.03.23 wiki - 2.6 UV Animation」の版間の差分
細 (1版 をインポートしました) |
|
(相違点なし)
| |
2018年6月29日 (金) 05:53時点における最新版
UV Animation
Tutorial: Animate a Mesh with a UVmap using Image Sequences.
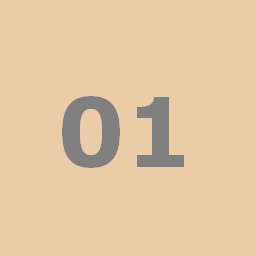
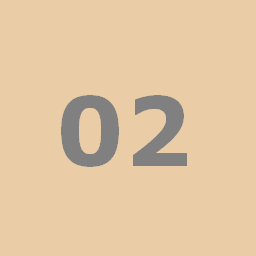
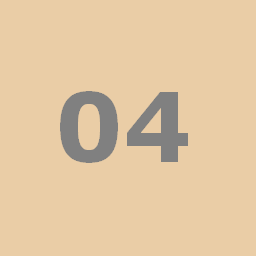
Heres some images to download.
Save them to a folder called uvis.
UI Setup
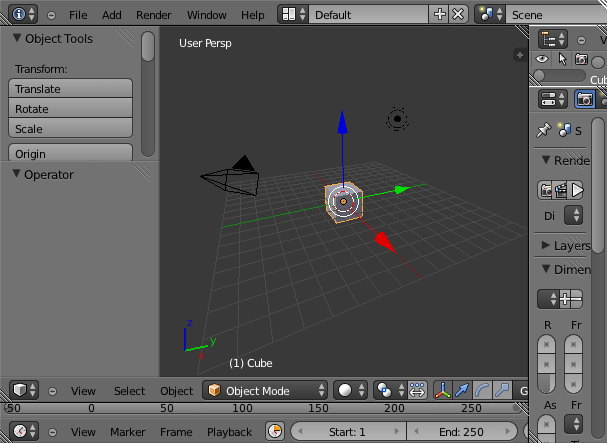
This is the default UI.
UI:
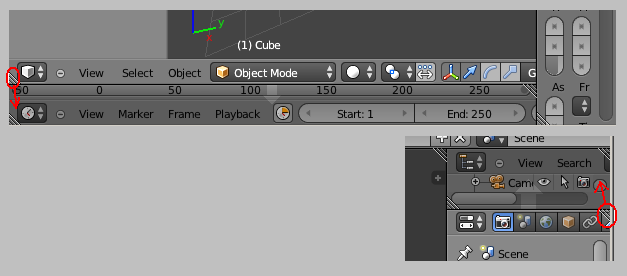
- Close Timeline and Outliner screens.
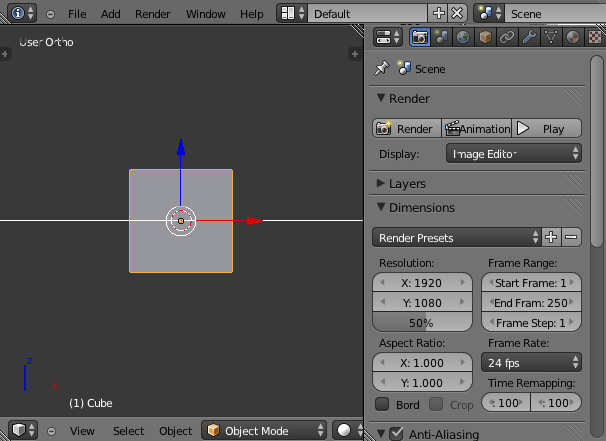
3D View:
- Hide Tools (T).
- Front view (NUM1).
- Orthgraphic projection (NUM5).
- Zoom in a bit (MM scroll up).
If you want save these settings as default.
Info: File:
- Save Startup File.
To get the default settings back.
Info: File:
- Load Factory Settings.
- Save Startup File.
Save the file in the folder called uvis as uvis.blend.
Info: Header: File:
- Save As.
Add a Plane
Delete the Cube Mesh.
3D View:
- Select the cube with right click (RMB).
- Delete with delete (DEL).
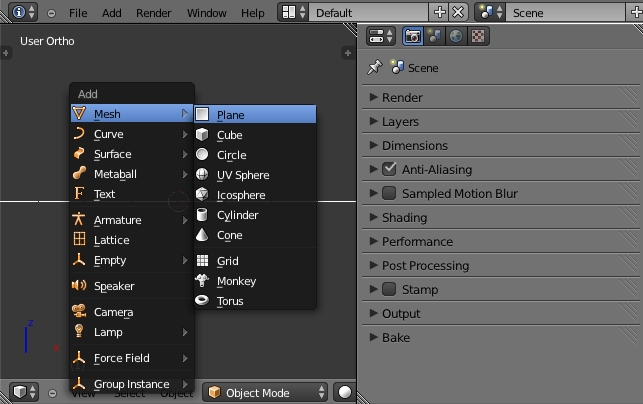
Add a Plane Mesh.
File: Header: Add:
- Add a Plane Mesh: Mesh: Plane.
Or from: 3D View:
- To add an object press (Shift + A).
- Add a Plane Mesh: Mesh: Plane.
Go to top view.
3D View:
- View top (NUM7).
Texture
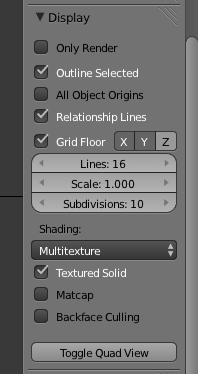
First enable Texture Solid, so you can see the texture in solid shading mode.
3D View:
- Show Properties (N).
3D View: Properties: Display:
- Enable [X] Texture Solid.
3D View:
- Hide Properties (N).
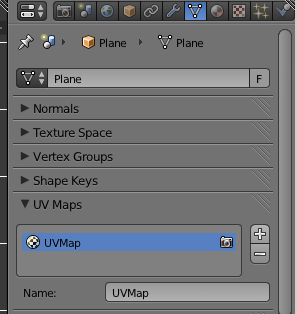
Add a UV Map.
Properties: Object Data: UV Maps:
- Press the [+] button.
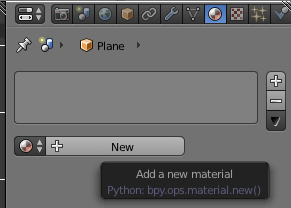
Add a Material.
Properties: Material:
- Press the [+ New] button.
Add a Texture.
Properties: Textures:
- Press the [+ New] button.
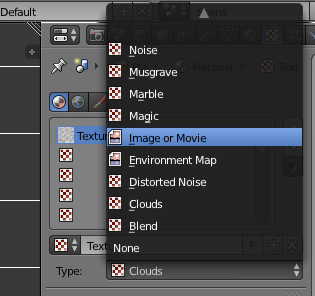
Set Type to Image or Movie.
Properties: Textures:
- Type: Image or Movie.
Open Image k_00.PNG.
Properties: Textures: Image:
- Press [Open] then select k_01.PNG from the uvis folder.
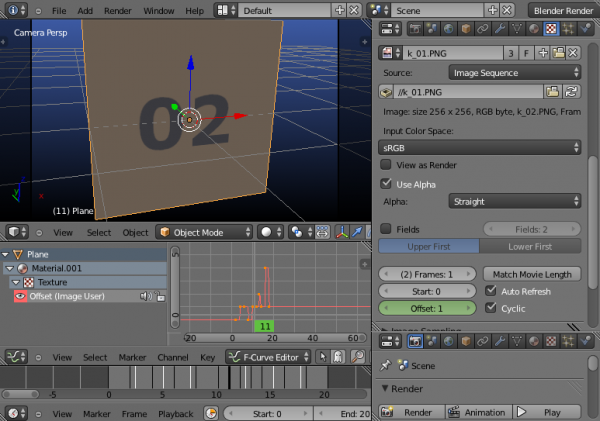
Change to an Image Sequence.
Properties: Textures: Image:
- Source: Image Sequence.
Set the mapping to UV and select UVMap.
Properties: Textures: Mapping:
- Coordinates: UV.
- Map: UVMap.
