「Doc:2.6/Manual/Modifiers/Generate/Array」の版間の差分
(minor edits) |
細 (1版 をインポートしました) |
(相違点なし)
| |
2018年6月29日 (金) 04:39時点における最新版
Array Modifier
Description
The Array modifier creates an array of copies of the base object, with each copy being offset from the previous one in a number of possible ways. Vertices in adjacent copies can be merged based on a merge distance, allowing smooth subsurf frameworks to be generated.
This modifier can be useful when combined with tilable meshes for quickly developing large scenes. It is also useful for creating complex repetitive shapes.
Multiple array modifiers may be active for an object at the same time, e.g. to create complex 3 dimensional constructs.
Options
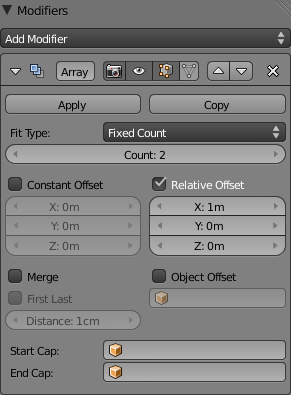
- Fit Type menu
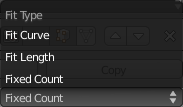
- Controls how the length of the array is determined. There are three choices, activating respectively the display of the Curve, Length or Count setting:
- Fit Curve – Generates enough copies to fit within the length of the curve object specified in Curve.
- Fit Length – Generates enough copies to fit within the fixed length given by Length.
- Fixed Count – Generates the number of copies specified in Count.
- Curve
- The Curve object to use for Fit Curve.
- Length
- The length to use for Fit Length.
- Count
- The number of duplicates to use for Fixed Count.
Notes
|
- Constant Offset, X, Y, Z
- Adds a constant translation component to the duplicate object’s offset. X, Y and Z constant components can be specified.
- Relative Offset, X, Y, Z
- Adds a translation equal to the object’s bounding box size along each axis, multiplied by a scaling factor, to the offset. X, Y and Z scaling factors can be specified. See Relative offset example.
- Object Offset
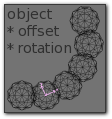
- Adds a transformation taken from an object (relative to the current object) to the offset. See Object offset example. It is good practice to use an Empty object centered or near to the initial object. E.g. by rotating this Empty a circle or helix of objects can be created.
- Merge
- If enabled, vertices in each copy will be merged with vertices in the next copy that are within the given Distance.
- First Last
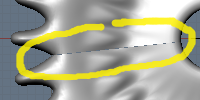
- If enabled and Merge is enabled, vertices in the first copy will be merged with vertices in the last copy (this is useful for circular objects; see (First Last merge example)).
- Distance
- Controls the merge distance for Merge.
- Start cap
- The mesh object to be used as a start cap. A single copy of this object will be placed at the “beginning” of the array – in fact, as if it was in position -1, i.e. one “array step” before the first “regular” array copy. Of course, if Merge is activated, and the Start cap is near enough to the first copy, they will be merged.
- End cap
- The mesh object to be used as an end cap. A single copy of this object will be placed at the “end” of the array – in fact, as if it was in position n+1, i.e. one “array step” after the last “regular” array copy. And as Start cap, it can be merged with the last copy…
Hints
Offset Calculation
The transformation applied from one copy to the next is calculated as the sum of the three different components (Relative, Constant and Object), all of which can be enabled/disabled independently of the others. This allows, for example, a relative offset of (1, 0, 0) and a constant offset of (0.1, 0, 0), giving an array of objects neatly spaced along the X axis with a constant 0.1BU (Blender Units) between them, whatever the original object’s size.
Examples
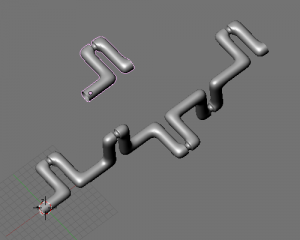
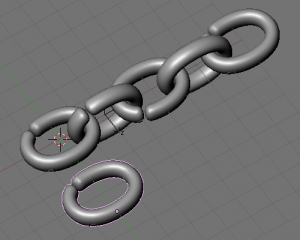
Mechanical
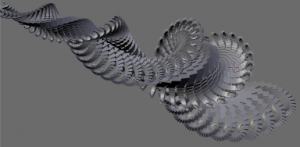
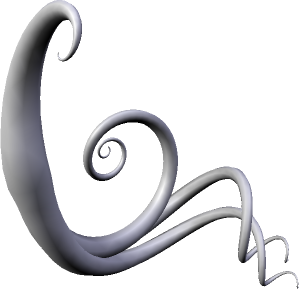
Fractal
Organic
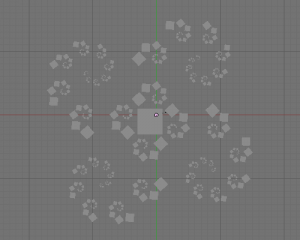
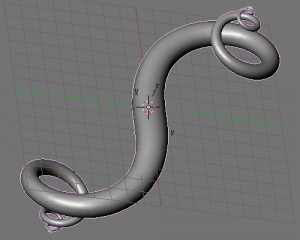 A double spiral created with two array modifiers and one subsurf modifier applied to a cube. As above, the vertex merge threshold is set very high to give the effect of skinning. Sample blend file | |
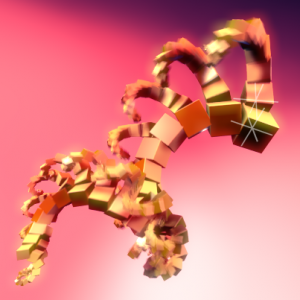
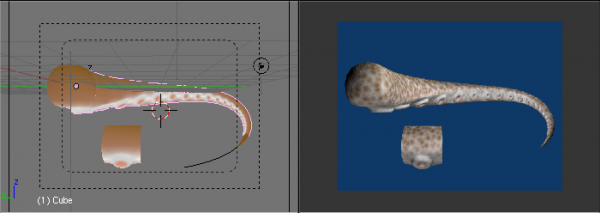 A tentacle created with an Array modifier followed by a Curve modifier. The segment in the foreground is the base mesh for the tentacle; the tentacle is capped by two specially-modeled objects deformed by the same Curve object as the main part of the tentacle. Sample blend file | |
Tutorials
The 'Double Helix' tutorial explains the Array modifier. It is for an old Blender Version (2.44) but except for the keyboard shortcuts it is still valid.

