「利用者:Sobotka/Misc/Speed Ramps in Blender」の版間の差分
細 (moved User:Sobotka/Table of Contents/Speed Ramps in Blender to User:Sobotka/Misc/Speed Ramps in Blender) |
細 (1版 をインポートしました) |
(相違点なし)
| |
2018年6月29日 (金) 05:47時点における最新版
目次
How to Accomplish a Speed Ramp In Blender
Speed ramps transition a motion picture from a given frame rate to another visually. This can appear as an object travelling at a starting speed and slow down or speed up. While this is now traditionally an effect that requires frame interpolation using optical flow techniques, there is an effect strip within Blender that can be used as a blueprinting device. In some instances, it may suffice for a given aesthetic.
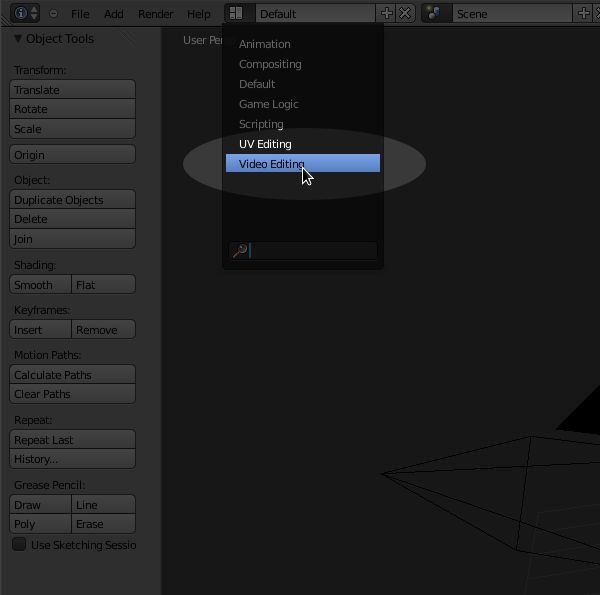
Step One: Toggle a VSE View
Select a VSE pane from a predefined working space or create your own.
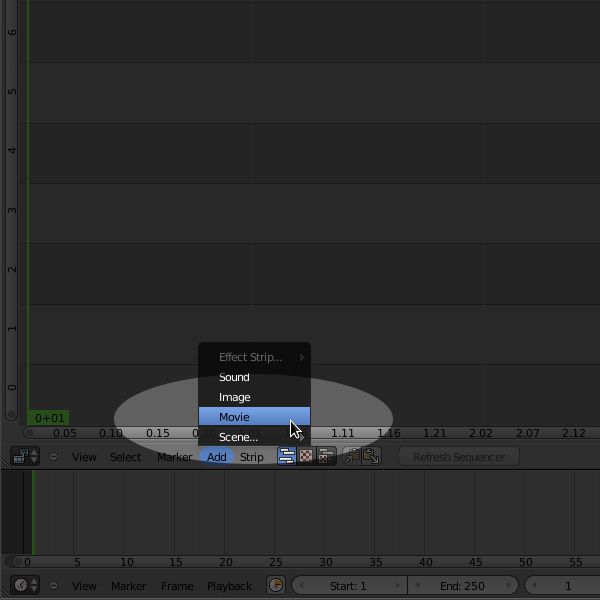
Step Two: Load a Motion Picture File
Load a motion picture file into the VSE.
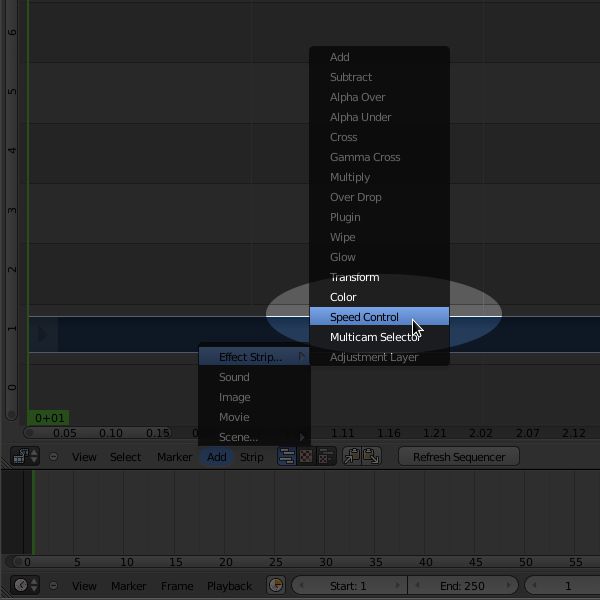
Step Three: Add a Speed Control Effect
Add a speed control effect.
Select it as an Active Strip
The Speed Control effect must be active to have it appear in the properties sidebar. Right click on the strip to make it active.
|
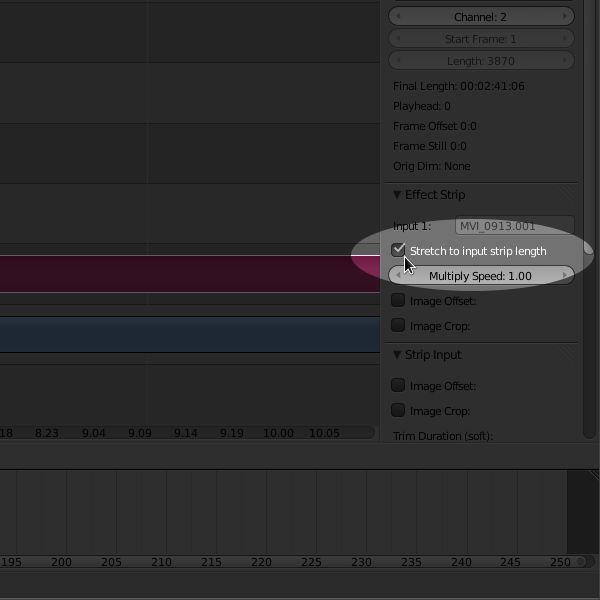
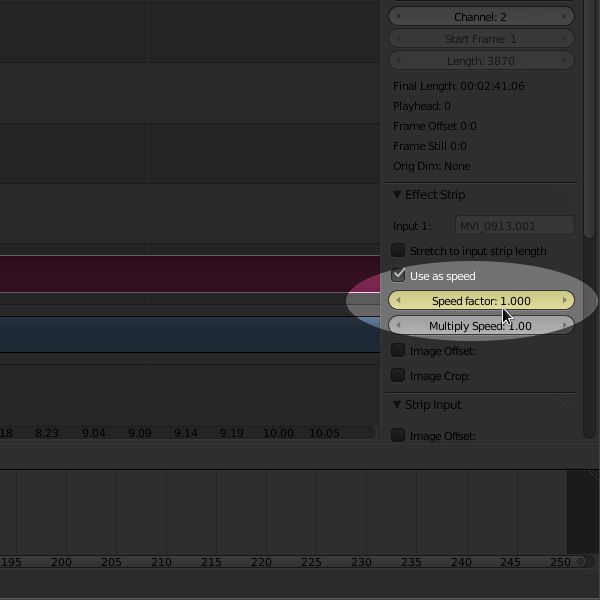
Step Four: Toggle Input Length
To enable variable speed, we must toggle the Global Speed Control variable off.
Step Five: Set Keyframes
(Almost) everything in Blender is subject to keyframe animation. Select a starting speed at a given frame and press 'i' while hovering over the variable. Scrub to another portion of the script, set another speed and again press 'i' while hovering over the variable.
Panel: VSE -> Properties
Hotkey: I
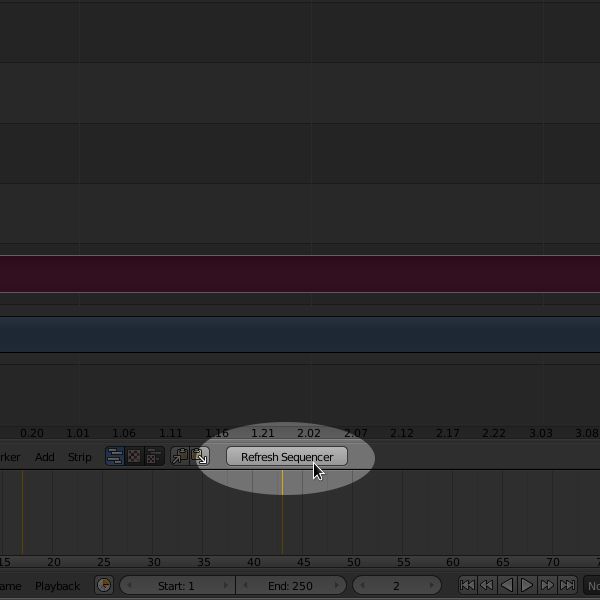
Step Six: Refresh
Refresh the VSE to have the cache updated with your changes.
