「利用者:Yukishiro/User Manual for Light Paint」の版間の差分
(→View Light Environment) |
細 (1版 をインポートしました) |
(相違点なし)
| |
2018年6月29日 (金) 03:42時点における最新版
目次
Basic Use of Light Paint
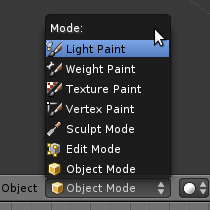
Switch to Light Paint Mode
Switching to light paint mode is easy, just like switching to vertex paint mode or sculpt mode. However, since the system is not quite stable yet, it'd be better if you have a relatively complete model before you switch. Applying modifiers such as subsurf or multires would require an extra computation since they change the mesh objects in the scene.
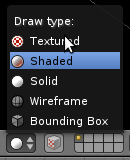
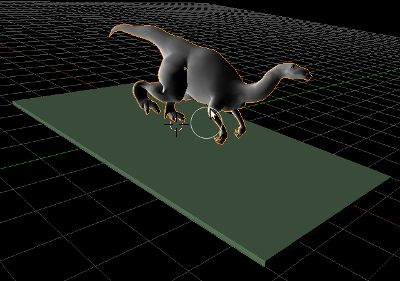
After you switch to light paint mode, the background would appear black now. The diffuse shading only shows up in solid view, though the brush works in all other modes.
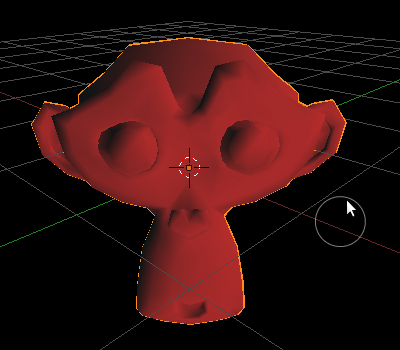
An example of the solid view display in light mode is shown below:
View Light Environment
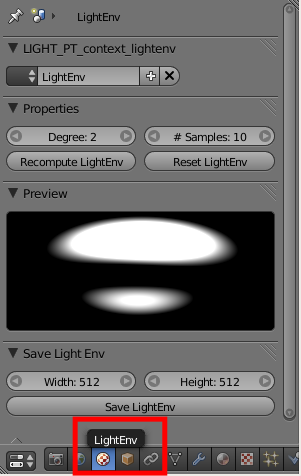
You can view a preview of the current light environment in LightEnv panel. In this panel you can also view the context information, several parameters for spherical harmonics (degree and number of samples). After changing those parameters, you need to manually click the button to recompute the light environment. The recompute button is also useful when you update the vertices or faces of the model. You can also reset the lightenv to its original value by pressing the reset button.
You can also save the lightenv into an HDR file by setting the image size and pressing 'save' button. The HDR file can be re-loaded into blender and used as a lightenv by using light node (see light node section).
Paint the Model
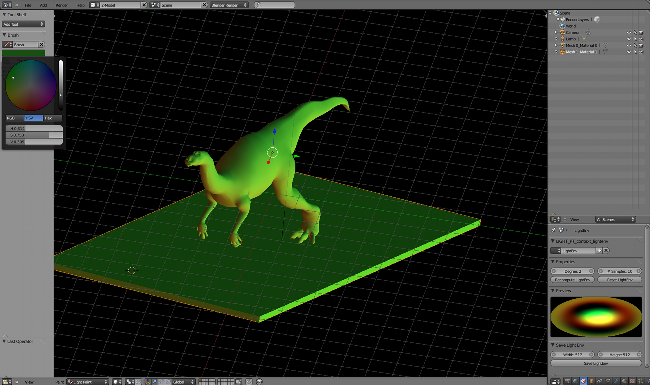
In light paint mode, the entire scene is displayed with diffuse shading. The active object also has an outline. Paint strokes are only applied on the active object. So a basic painting process is:
- RMB to pick an object to paint on
- TKEY to bring out the toolbar with brush properties (colour and size)
- Press and hold LMB to apply the selected colour to some vertices on the active object
- Release LMB and the light environment would be updated.
An example of a painted dinosaur is shown here:
If you are unhappy with the paint stroke you just applied, it can be undone by pressing CTRL + ZKEY. Pressing CTRL + SHIFT + ZKEY would redo the paint stroke.
Rotate Light Environment
Pressing SHIFT + LMB triggers light rotation. The cursor changes to hand cursor from the round circle representing the brush. The light env then can be dragged around. You can also view the changes in preview in the light env panel.
Mix Light Environments Using Light Nodes
You can mix a light environment created by light paint with other HDR images that you have.
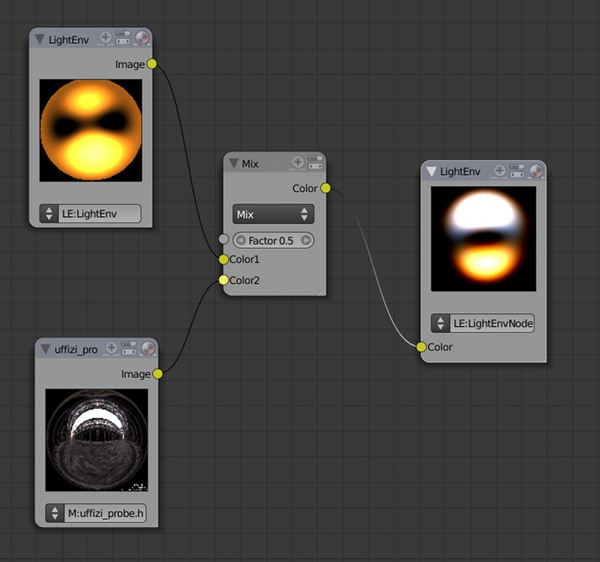
- Switch to node panel. Choose texture nodes and select 'use nodes'. Remove the default checker board texture.
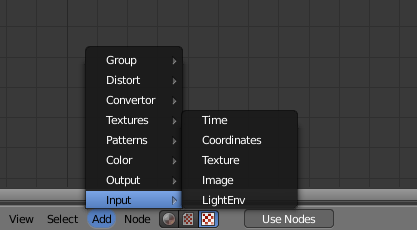
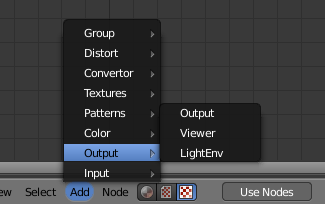
- Add a LightEnv input (Add->Input->LightEnv). Use the ID list to select an existing light env or create a new one.
- Add an image input (Add->Input->image). Select an existing image or load a new one.
- Add a mix node (Add->color->Mix). Link the LightEnv noe and Image node to color1 and color2 of the mix node.
- Add a LightEnv output (Add->Output->LightEnv). Use the output of the mix node as the input.
The system creates a new lightenv when the output LightEnv node is added. You can then pick the newly create lightenv to use in LightEnv panel. The scene in light paint mode would be re-rendered using the new lightenv.
Render using Light Environment
Step 1: We open an existing scene (or build our model)
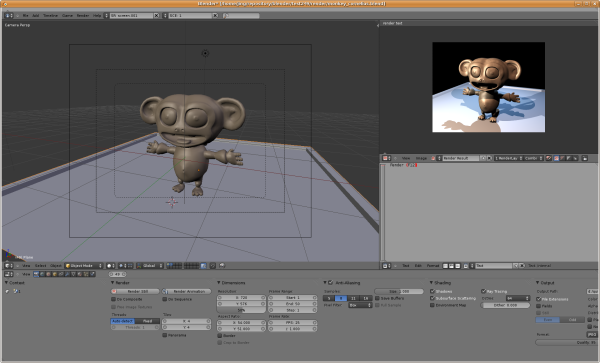
Step 2: Switch to light paint model. This time we want to add a little pink colour to the scene.
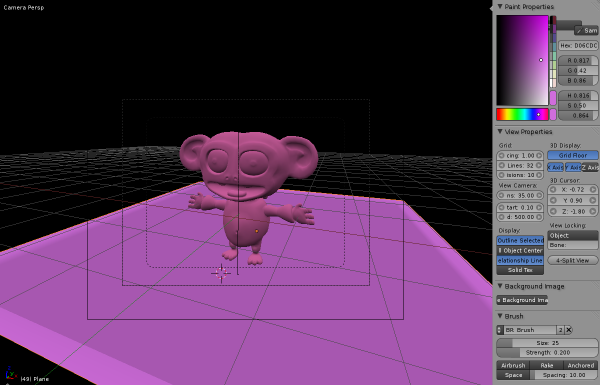
Step 3: Now we need to turn on ambient occlusion so that light paint effects would be included in rendering pipeline. We need to turn on 'approximate' and 'SH diffuse'.
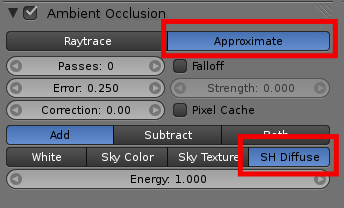
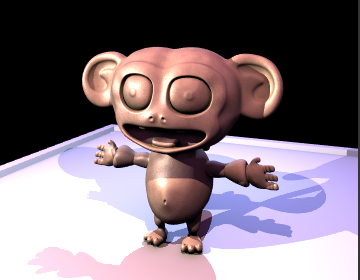
Step 4: Press F12 to render. Here is what we've got, but it's too pink (and too bright).
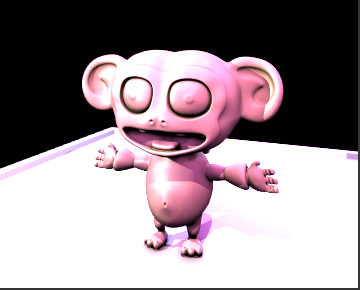
Step 5: So we go back to the buttons and adjust energy level from 1.0 to 0.5.
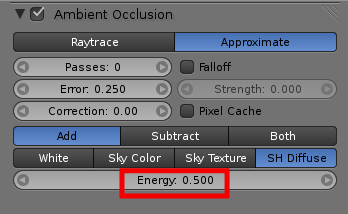
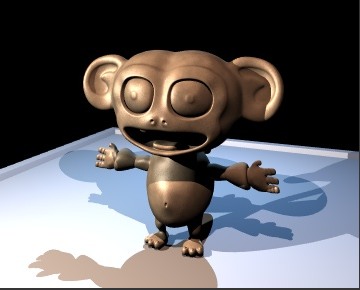
Step 6: Here is the final render result, compared with the original rendering (below).
Less Basic Use of Light Paint
Using Modifiers in Light Paint Mode
Modifiers change mesh objects, which means that in order to display the correct colours for light env, we need to do a re-computation.
Let's started with Suzanne.
We decide to add a subsurf modifier to our model, and now light paint looks wrong.

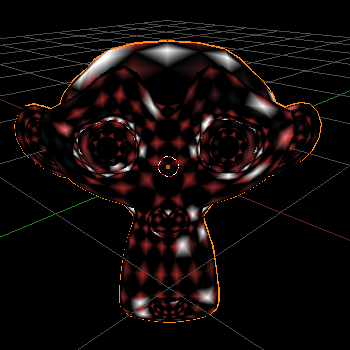
We go back to light env panel, press the button to trigger a re-computation for the mesh.
