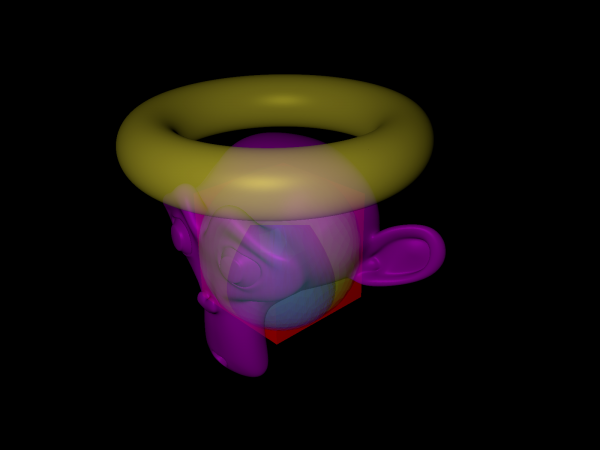
Extensions:2.6/Py/Scripts/Render/BFFMTR
| UI location | Properties > Render | ||
|---|---|---|---|
| Version | 1.0_beta | Author(s) | Jason Stevens |
| Blender | 2.64 | License | GPL |
| Distribution | Extern | ||
| File name | _init_.py |
|---|---|
| Current version download | http://www.filefactory.com/file/2u02uajtx60f/ |
| Links | neveragainwillisetupemail@gmail.com |
|---|---|
| Known Issues | Windows 64 bit only. |
目次
Installation
The download consists of the following:-
- BFFMTRv1_0betaRelease.7z
- BFFMTRv1_0betaRelease
- BFFMTRv1_0_beta
- _init_.py
- BFFMTRFunc.py
- BFFMTRKeys.py
- BFFMTROps.py
- BFFMTRPanel3.py
- BFFMTRProps.py
- BFFMTRSlave.py
- ImageMagic-6.7.4-Q32-64bit
- README.txt
- BFFMTR_beta_Manual.pdf
- BFFMTRv1_0_beta
- BFFMTRv1_0betaRelease
- Unzip BFFMTRv1_0betaRelease.7z to any location.
- Move the ImageMagic-6.7.4-Q32-64bit folder to any location.
- Move the BFFMTRv1_0_beta folder to your Blender\2.64\scripts\addons location
- This script is in Blender 2.64 Add-Ons menu, Render Category.
- In User Preferences you can see the Add-Ons menu.
- You can activate the script here.
- The script will now show up in the Prefrences > Render Menu.
Create Large Format Pictures
Hello and welcome to BFFMTR (Big Fat Furry Monster Tile Renderer) beta
This is my first attempt at an addon and has so far taken around 7 months to write (mostly due to the fact that I am a programming novice).
With this addon you can:-
- Create large format pictures with a theoretical limit of 25,600,000,000 pixels. (Any one want to test this?)
- Create a project folder and atomatically save renders in a logical location.
- Control which layers are active automaticaly.
- Tile the picture to a maximum of 256 tiles.
- Spot check any tile, any layer.
- Run a batch compositor.
- Reassemble the picture using a version of ImageMagick I have compiled which has an internal pixel depth of 32 bits and OpenEXR support.
At the moment it is only for Windows due to not knowing about other OS. Thats where you guys can help maybe.
There are other tileing scripts available (Render Regions and Monster Tiles. Many thanks to the authors for inspiration) but this addon is very comprehensive and offers a complete pipeline.
It is recommended that you complete the tutorial in the PDF manual which will take you through the key stages of rendering a large format picture.
What follows is a short description of the panels. Refer to the PDF for a more detailed explanation.
Monster Layers
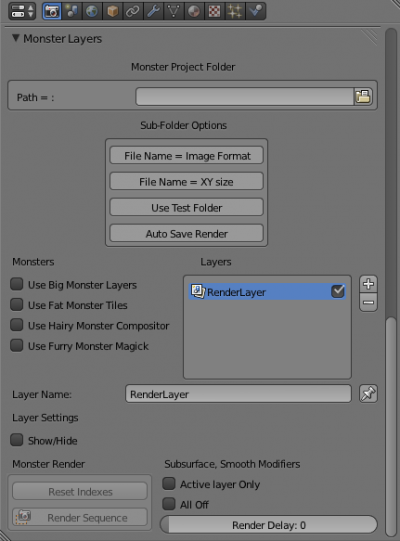 Layers is gone. Replaced by new and improved Monster Layers. All the old Layers functions are here as are the main control functions for BFFMTR.
Big Monster Layers
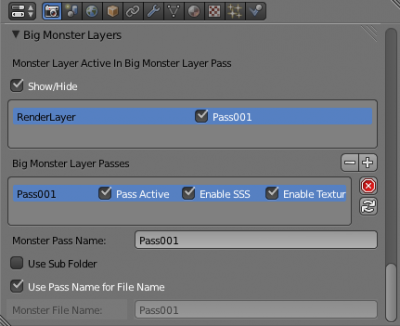 Set up your Big Monster Layer Passes here. Used to control which layers are active etc.
Fat Monster Tiles
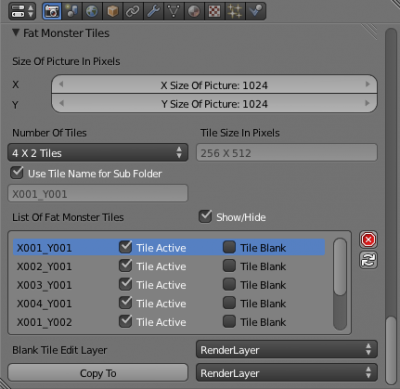 Choose how big your picture will be, how many tiles it has, which tiles are active and you can choose whether a tile is blank or not for the corresponding layer(helps performance)
Hairy Monster Compositor ('Auto Mode')
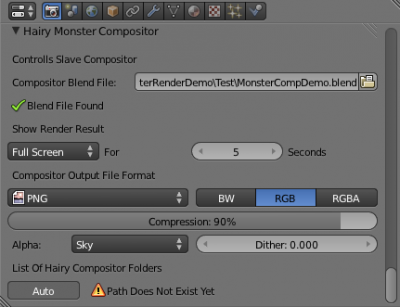 Here you can select a .blend file to use for the compositor and the file format for the output. In auto mode once your rendering is complete Hairy Monster Compositor will automaticaly batch composite your tiles etc.
Hairy Monster Compositor ('Manual Mode')
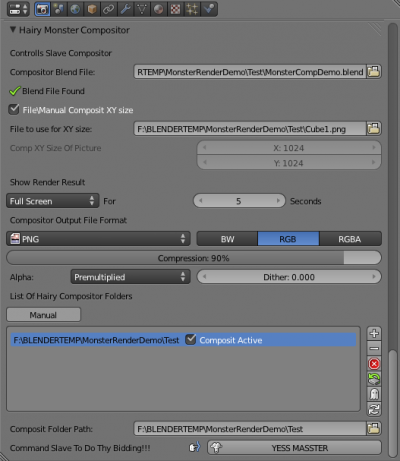 This is the 'ubber' mode for the Hairy Monster Compositor. With this you can batch composite a single folder or many projects. (Recommended for power users)
Furry Monster Magick ('Auto Mode')
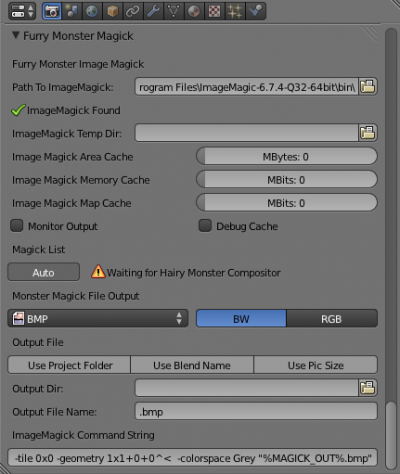 This is the interface to ImageMagick. You can choose the output format and destination of your large format picture here. In this mode it will automaticaly pick up where Fat Monster Tiles and Hairy Monster Compositor left off and assemble your picture. It is recommended to leave the cache settings as 0 unless you are familiar with ImageMagick and have a supercomputer with lots of memory.
Furry Monster Magick ('Manual Mode')
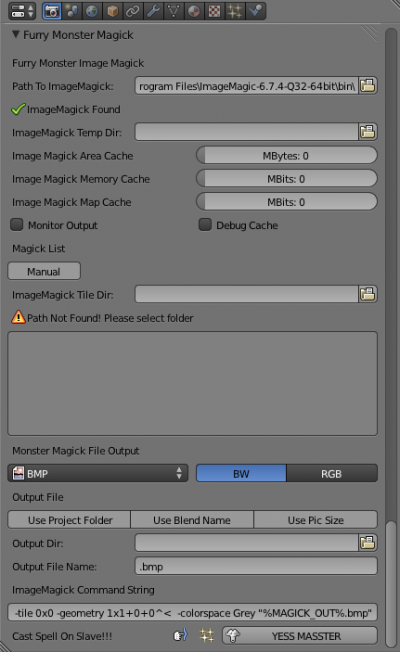 In this mode you can manualy select a folder containing tiles and assemble the picture.
Version Information
""" Place this file in the .blender/scripts/addons dir You have to activated the script in the "Add-Ons" tab (user preferences).
Place the version of ImageMagick anywhere. it is standalone.
Rev 1.0Beta initial release """
Support
Write to me at my email address at the moment. My internet access is sparodic at best and I will get back to you as soon as I can. My email address is in the links at the top.
- Back to Extensions:2.5/Py/Scripts
