Doc:2.6/Manual/Modeling/Meshes/Editing/Subdividing/Knife Subdivide
Page status (reviewing guidelines)
Page reviewed and in good shape |
目次
Knife Tool
Mode: Edit mode
Panel: Mesh Tools (Editing context, F9)
Hotkey: K or ⇧ ShiftK
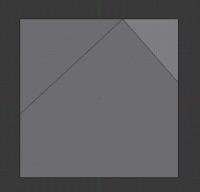
The Knife Tool has been improved for Blender 2.6. It subdivides edges and faces intersected by a user-drawn “knife” line. The tool is now fully interactive, and snaps to edges, cut lines, and vertices, and can create multiple cuts on an edge.
For example, if you wish to cut a hole in the front of a sphere, you select only the front edges, and then draw a line over the selected edges with the mouse. The tool is interactive, and works on primary edges, selected either implicitly by selecting all, or explicitly by box-selecting or ⇧ ShiftRMB ![]() -clicking a few edges.
-clicking a few edges.
Use ⇧ ShiftK or the Select tool in the tool panel to force the knife tool to work only on a selection and in cut-through mode (see below).
Usage
When you press K (or ⇧ ShiftK), the Knife tool becomes active.
- Drawing the cut line
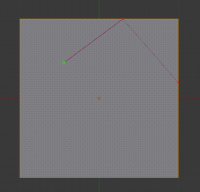
- When using Knife Subdivide, the cursor changes to an icon of a scalpel and the header changes to display options for the tool. You can draw connected straight lines by clicking LMB
 .
.
Options
- New cutE
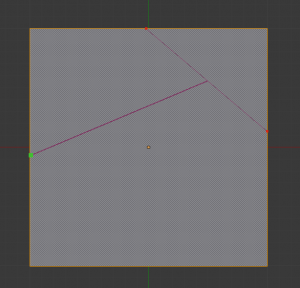
- Begins a new cut. This allows you to define multiple distinct cut lines. If multiple cuts have been defined, they are recognized as new snapping points.
- Midpoint snap Ctrl
- Hold to snap the cursor to the midpoint of edges
- Ignore snap⇧ Shift
- Hold to make the tool ignore snapping.
- Angle constrainC
- Hold to constrain the cut vector to the view in 45 degree increments.
- Cut throughZ
- Allow the cut tool to cut through to obscured faces, instead of only the visible ones.
Confirming and selection
Pressing Esc or RMB ![]() at any time cancels the tool, and pressing ↵ Enter confirms the cut, with the following options:
at any time cancels the tool, and pressing ↵ Enter confirms the cut, with the following options:
↵ Enter will leave selected every edge except the new edges created from the cut.
Limitations
If you try to make cuts that end off in the middle of a face, those cuts are ignored. This is a limitation of the current geometry that can be modeled in Blender.
Closed cycles can be cut in the middle of a face, forming holes, but those holes will be connected to the surrounding geometry by two edges, for similar modeling limitation reasons.
In 'cut through' mode, only cut lines that completely cross faces will make cuts.
Optimizations
With a large mesh, it will be quicker to select a smaller number of vertices—those defining only the edges you plan to split—so that the Knife will save time in testing selected vertices for knife trail crossings.
Knife Project
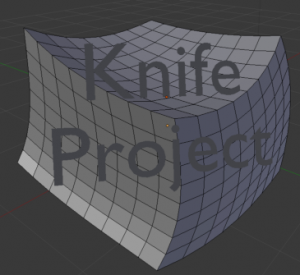
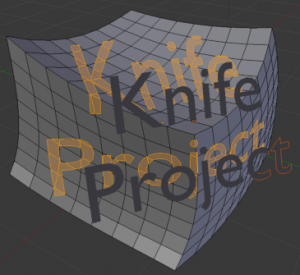
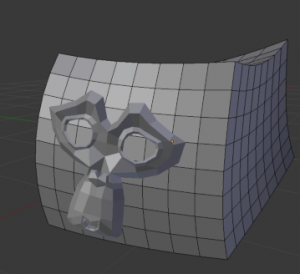
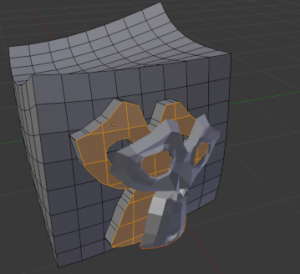
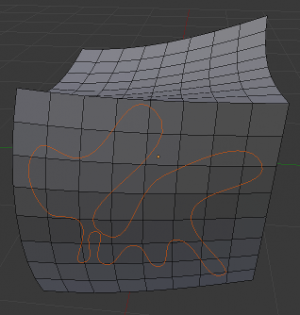
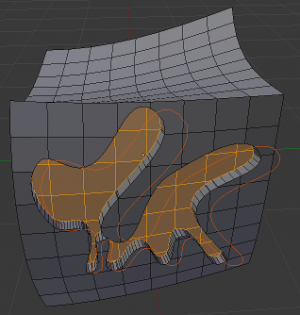
Knife projection is a non-interactive tool where you can use objects to cookie-cut into the mesh rather than hand drawing the line.
This works by using the outlines of other selected objects in edit-mode to cut into the mesh, resulting geometry inside the cutters outline will be selected.
Outlines can be wire or boundary edges.
To use Knife Project, in 'object' mode select the "cutting object" first then shift select the "object to be cut". Now tab into edit mode and press "knife project".
Examples
Known Issues
Cutting holes into single faces may fail, this is the same limitation as with the regular knife tool but more noticeable for text, this can be avoided by projecting onto more highly subdivided geometry.
