利用者:Annapootle/Doc:2.6/Tutorials/UVUnwrapping/BasicUnwrapping
Basic UV Unwrapping
UV unwrapping is an important part of texturing in Blender. In this tutorial you will learn how to unwrap a simple sphere in Blender 2.63.
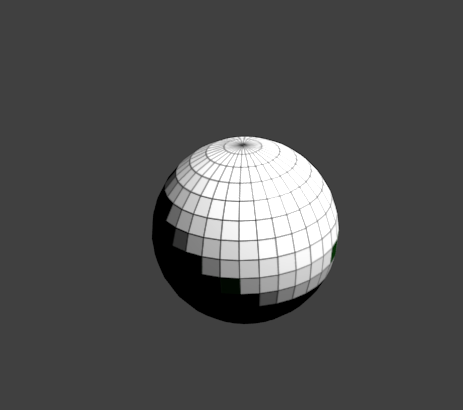
So, I've created a sphere in Blender and entered Edit mode by pressing the Tab key on my keyboard.
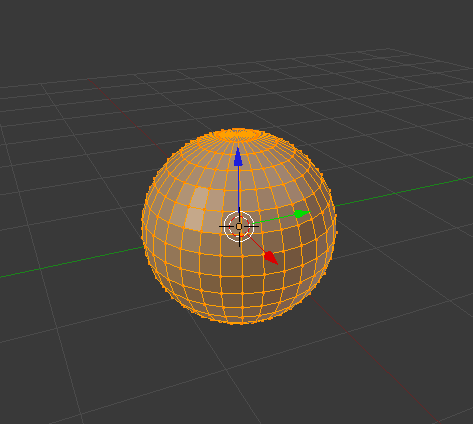
Go into side view. Make sure the selection is NOT limited to visible, then select the center ring of the sphere.
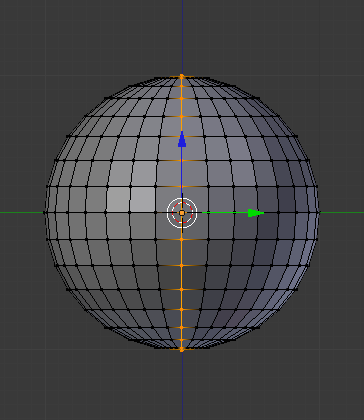
In the Mesh Tools sidebar, select Mark Seam. A seam will be marked on your sphere.
In the layouts, select UV Editor.
Create a new image and call it UV. Then select Unwrap in the Mesh Tools sidebar.
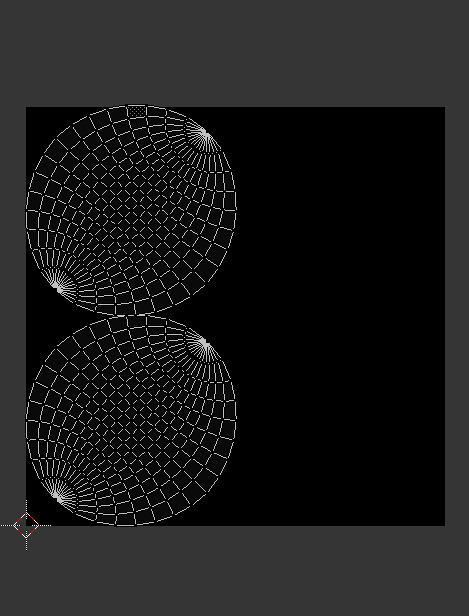
Select UVs in the Image Editor bottom bar, then Export UV Layout.
Save it to your computer.
Open the layout in your image editing program and use the bucket tool to fill the spaces in the layout with color.
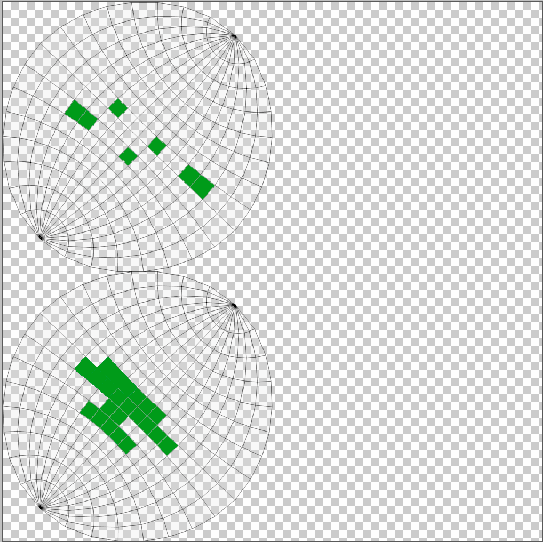
Save the image. Then go back into Blender, and in the Image Editor select Image, then Open Image. Open the image you saved.
Go to the Properties of your sphere. Under Materials, add a new material. Under Textures, add a new Texture. Make it an Image and select your imported UV. Change the coordinates to UV instead of Generated.
Render, and the texture will appear!
It's easy to UV map even more advanced models.