利用者:SaphireS/gsoc2016/documentation
目次
End-User Documentation (GSOC2016 Project: UV Tools)
Improved Pack Islands Tool
A new and improved packing (Pack Islands) operator was arguably the biggest and most complex task of this Google Summer Of Code project. This implementation was done as a separate operator since the current Pack Islands and the new Irregular Pack Islands are fundamentally different in how they work.
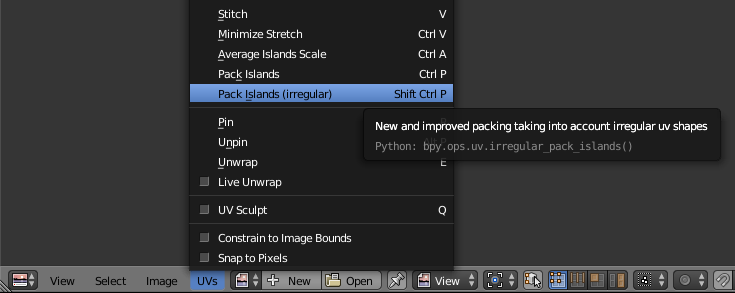
The new Irregular Pack Islands can be accessed through the UV Menu or by pressing ⇧ ShiftCtrlP.
Mode: Edit Mode (Mesh)
Hotkey: ⇧ ShiftCtrlP
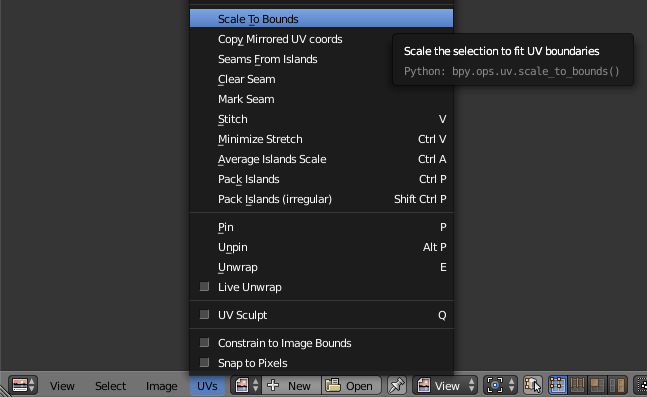
Menu: UVs → Pack Islands (irregular)
Type of boundaries
The irregular in the name of the new operater is based in the fact that it is able to deal with irregular shapes (UV islands), while the current Pack Islands operator just used the bounding rectangles of the UV islands for placement. The picture below illustrates the different types of UV island boundaries that can be used for computing a packing solution: The red rectangle bounds are used by the current operator, one can see already that this results in a lot of wasted space. The green convex bounds are already a great improvement over the rectangle ones. Imagine putting a rubber band around the UV islands, then you get the convex hull/bounds. The blue concave boundaries follow exactly the outline of the UV islands, including concavities and holes. While these produce the best results they're also very computation heavy and an option to use the (faster to compute) convex bounds has been added to the new operator.
|
Pack Islands (irregular) is a modal operator, which means after it is started it iteratively searches for better solutions until either the user is satisfied or a defined number of iterations is met. For this operator state-of-the-art algorithms and heuristics in bin packing were used, mostly Simulated Annealing and No-Fit-Polygon computation. Those interested in the technical and implementation details are referred to this page: Packing Implementation Notes
Modal operator in Blender work like this: Once it's calles it caclulates better solutions iteratively until either the max. number of iterations is reached (see options below) or the user accepts/cancel the operator. While the operator is running this can be done with the following shortcuts:
- LMB
 or Return or Padenter: Finish operator and keep result.
 - RMB
 or Esc : Cancel operator and revert back to the state before calling Pack Islands (irregular).
The recommended way to change operator settings is calling it and accepting the result, then press F6 to bring up the operator settings menu and change the desired settings.
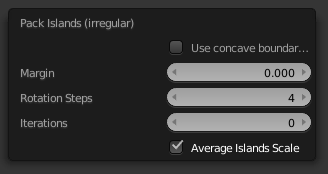
The operator has the following options for users:
Here's what each one of these does:
- Use concave boundaries: If this checkbox is ticked concave boundaries are used instead of convex ones, which leads to better results but is also slower and more computation heavy!
- Margin: Margin or "Padding" is a minimum distance between each of the UV islands and the UV border. Default is 0.0.
- Rotation Steps: This option tells the operator how many different rotations for the UV islands are allowed. Example: 0/1 = no rotation, 2 = 2 different rotations (180°rotation steps), 4 = 4 different rotations (90° rotation steps), 8 = 45° rotation steps and so on. The more rotation steps the better the potential result but the more computation performance is needed.
- Iterations: Number of iterations before it stops searching for better solutions, 0 = runs until the users stops.
- Average Islands Scale: Run the Average Islands Scale operator before starting packing if this checkbox is ticked.
| Number of iterations | |
| With only a few iterations it should be possible to get better results compared to the old "Pack Islands" operator in most cases. |
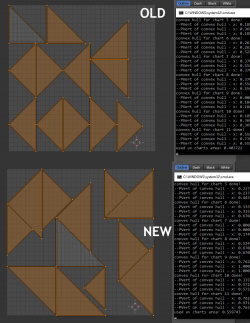
Here are a few examples of the old vs. the new operator (using convex setting and only 1 initial iteration):
Select Shortest Vertex Path Tool
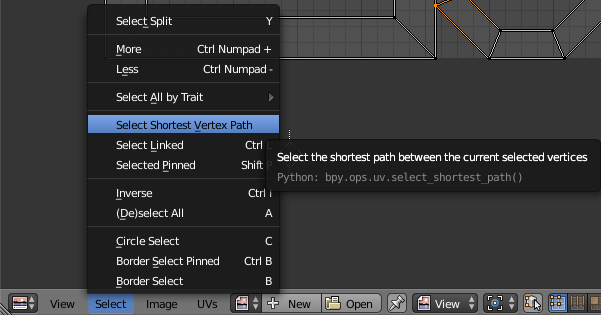
The Select Shortest Vertex Path operator works similar to its counterpart in 3D View, it selects the shortest vertex path between two selected vertices. Make sure to only have 2 UV vertices selected prior to calling this operator, otherwise it displays a warning to have exactly 2 vertices selected for it to work.
The operator can be found in the Select menu of the UV editor: Select » Select Shortest Vertex Path.
The operator has one option: A checkbox to use Topological Distance. By default the path with the smallest spatial distance is chosen, if Topological Distance is ticked, the path with the least amount of vertices is chosen instead. An animated version can be found here:
Scale to Bounds Tool
Sometimes also referred to as "Normalize UVs", this tool can be used to scale the selected UV Islands to fit the UV bounds.
It can be found in the UVs menu: UVs » Scale to bounds
The operator has the following options:
- Keep Aspect Ratio: If this checkbox is ticked the aspect ratio of the current selection is kept while scaling up. If it's unticked the selection is tretched to fit width and height of the UV boundaries/loaded image.
- Individual: If this checkbox is ticked the individual UV islands are scaled to fit the UV boundaries, the default behaviour (unchecked) is that the current selection as a whole is scaled to fit the boundaries.
An animated version can be found below:
Snapping Improvements
The incremental snapping in Blenders UV editor had very low precision, resulting in effectively only 8 snapping intervals per axis.
During this project the precision for this was increased, with the possibility to hold down ⇧ Shift for even more precise snapping.
Already in master
Because of high demand this feature has already been commited to master and will be in the upcoming 2.78 release. Release Notes
|
"Real" UV Un/Hiding + Mesh De/Selection
For quite some time Blender was lacking any "real" hiding capabilities for UVs. The hiding that was in place before this project was actually deselecting the mesh in 3d view to hide UVs in UV editor.
Now there's proper hiding, which hides the selected parts without changing the mesh selection in 3D view.
It can be accessed using the usual hide/unhide shortcuts:
- Hide Selected: H
- Hide Unselected: ⇧ ShiftH
- Reveal: AltH
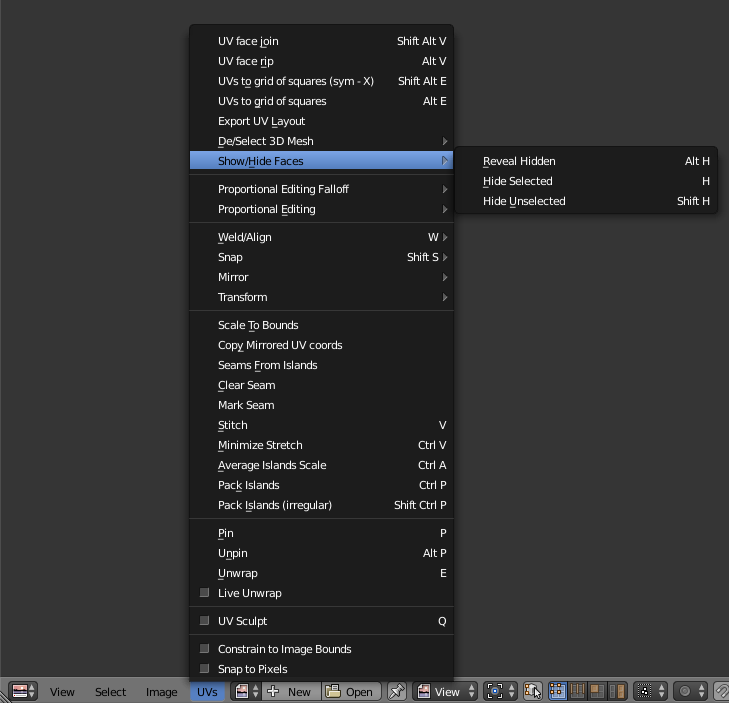
Or using the UVs menu: UVs » Show/Hide
The "old" hiding behaviour is still used in quite a few workflows though, so it's also made available as new operators and can be found in the UVs menu:
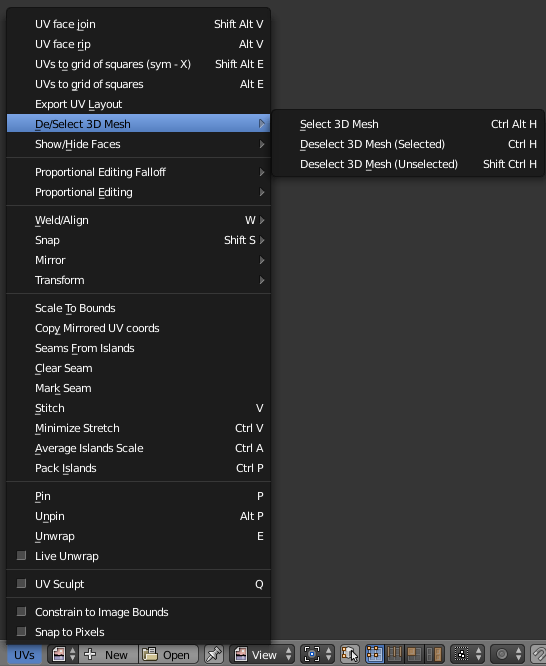
UVs » De/Select 3D Mesh
They're also usable with shortcuts (same as Show/Hide shortcuts + Ctrl as modifier key):
- Deselect 3D Mesh (selected): CtrlH
- Deselect 3D Mesh (unselected): Ctrl⇧ ShiftH
- Select 3D Mesh: CtrlAltH
Select Overlapping UVs Tool
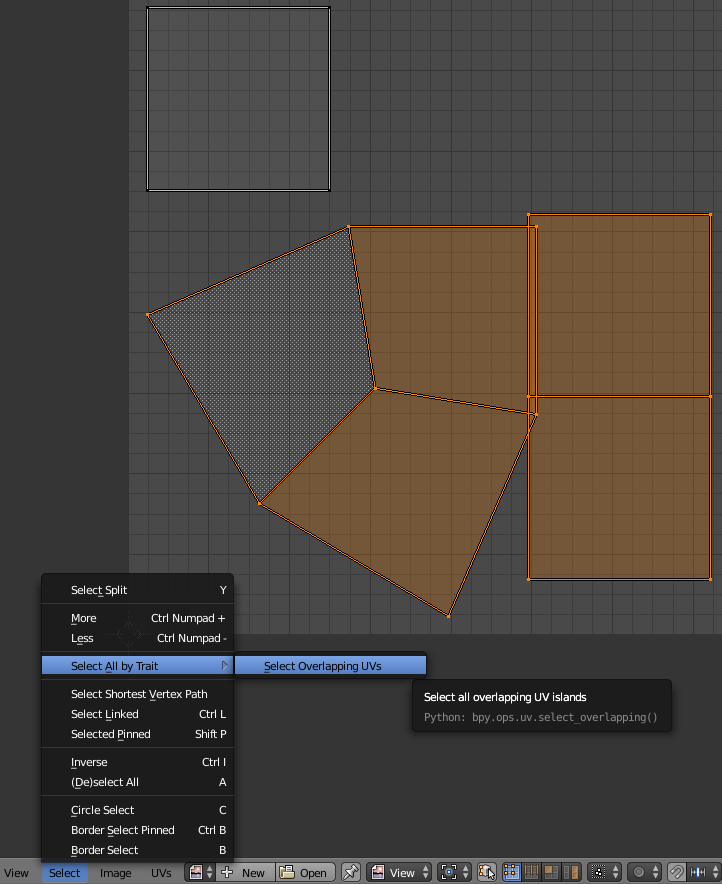
As the name suggests, this operator can be used to find all UV islands which overlap other UV islands. When called it selects all overlapping UV islands.
It can be found in the Select menu:
Select » Select All by Trait » Select Overlapping UVs
Optional Packing for Unwrap Tools
Calling "Pack Islands" is now optional for most unwrap operators. This was enabled by default, now the user can decide to pack or not after unwrapping by simply ticking the Pack Islands checkbox.
