利用者:KaOS-BeAT/BetterEdges
introduction
In this tutorial I will explain how to render true black edges,that's right no weird grey edges. It's usefull if you need "perfect" outlines and unshaded geometry. The default edge-shader outputs some ugly grey lines, even with the edge intensity cranked up to 255.
Because the edge shader has this weird effect, we're going to use composite nodes to do some post processing on the file (still in blender).
scene setup
Outline rendering goes pretty fast! The only material used is a shadeless white.
Apply this material to all your objects. Lights are not needed for this setup, but off course you're gonna need a camera. after you did all this the default render looks like this:
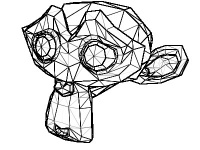
400x300px:
 Can you spot the grey lines? This effect is even worse on complex drawings. Increasing the resolution helps a little bit, but you cannot keep doing this.
Render setup, composite pipeline
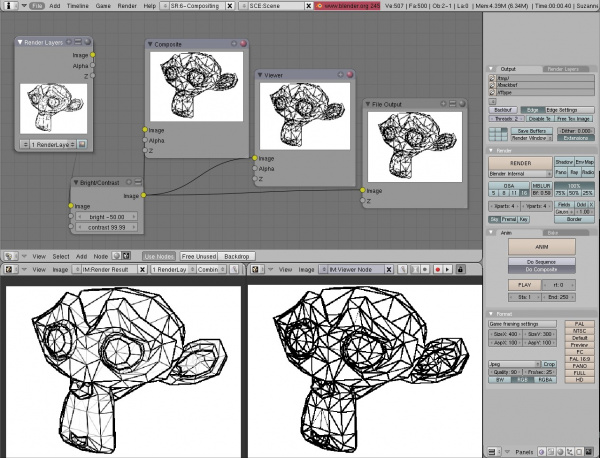
Make sure you enable the "do composite" button in the render buttons window. basically all we do is add a Brightness/Contrast filter so the grey lines become "pure" black. Brighness goes to -49.90 and contrast to 99.90. For higher contrast values everything turns black, for lower brightness values grey artefacts appear.

for bigger images the difference is even better visible. Tweaking the brightness/contrast leads to different results, different edges (other angles) become visible. With a high brightness, only sharp corners are visible.
conclusion and final tips
It's a very simple setup, and it's nowhere near commercial vector renders for outlines (it's not even vector output) But this leads to the best result for blender I was able to make so far. Post processing could be anti-aliasing in photoshop or Gimp for clean and crisp lines.


