利用者:Nicholasbishop/Using Retopo
目次
Overview
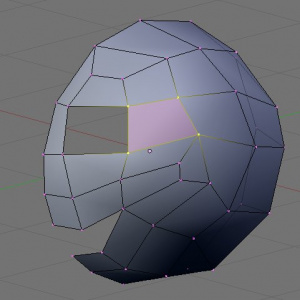
Retopo (remake topology) is a tool for remaking the topology of a mesh. It's the opposite of the sculpting tools: instead of reshaping the model but leaving the topology the same, it reforms the topology, but maintains the same shape as the original model. You will not change the geometry of the original mesh in any way; you will be creating a new mesh that is projected upon an existing mesh. There are three ways to use retopo - retopo paint where you paint lines on the mesh and painted intersections become vertex locations; or by creating new mesh via standard mesh editing methods; or by projecting an existing mesh onto the object. In practice one usually uses all three together.
Usage
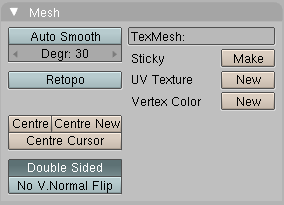
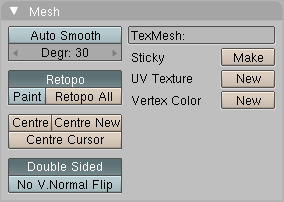
Retopo is controlled from the Mesh palette in the Editing buttons (F9).
The Retopo button appears when a mesh is selected and EDIT mode is active.
When the Retopo toggle button is pressed, any change to a vertex will cause it to be snapped to the surface of another model. Note that this effect is view dependent: from the view you are working in, the vertices won't appear to have moved, because they are falling straight back along the axis until they hit the surface of the model.
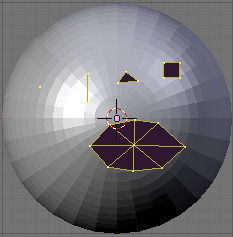
Retopo Paint Overview
Once you click Retopo and then paint you will see the following options in the header.
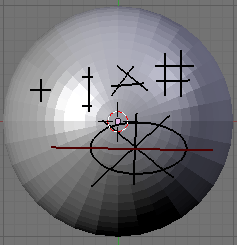
- Pen
- A freehand line that exactly follows the location of the mouse from your start click (LMB
 ) until you release the mouse button.
 - Line
- A line segment from your start click (LMB
 ) to where you release the mouse button.
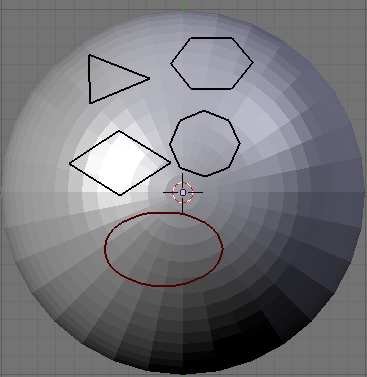
 - Ellipse
- Draws a ellipse between a rectangular area with its center defined by your start click (LMB
 ) and a corner defined by where you release the mouse.
 - LineDiv and EllDiv
- LineDiv and EllDiv determine the number of segments in the line and ellipse line respectively. Thus a setting of 4 for EllDiv results in a diamond being draw instead of an ellipse. For LineDiv it determines the number of points used to project the line onto the object thus with two points only the endpoints are used, and the rest of the line does not follow the surface but instead passes through the object. Thus higher levels of LineDiv mean the projection will more accurately fit on the objects surface.
To extend a previous stroke go to an endpoint of the stroke and a circle will appear - click and drag to continue the stroke.
You can delete previous strokes by going to an endpoint (or for a circle along the edge) and when the circle appears click to turn the stroke red then Xkey or Delete to delete it.
Sometimes the option to extend can be an annoyance if you are trying to paint a new stroke near the endpoint of an existing stroke. In which case you can toggle off the hotspot for end point extension with the Hkey.
After painting your ellipses and lines press ↵ Enter to convert it to mesh. At each intersection of lines a vertice is formed. Two intersections on the same line forms an edge also. Three or four edges in a loop forms a face.
Limitations / Notes
- When you press ↵ Enter the mesh faces are derived based on your current view; thus you can only paint one side at a time.
- Lines cannot self intersect
- Can only autofill quads and tris, if an area has more than four surrounding vertices then a face will not be created
- New mesh from paint and previous mesh from paint must be stitched together manually.
- Each stroke is sequential.
- Paint strokes can only be viewed and edited in the 3D view you begin retopo paint in.
Retopo Mesh Overview
If you use Retopo without Paint you can use standard mesh editing tools to either create a new mesh. Or alternatively project an existing mesh onto the surface you wish to remake the topology of.
To project an existing mesh select the vertices you wish to project in the view you plan to project from then press Retopo All.
You may wish to hide the vertices you have already projected in order to avoid accidentally re-projecting them from a different view.
Limitations
- In order to avoid effecting mesh on the backside of the object you must hide the mesh (i.e. selection is not 'clipped' even if it is not visible).
- To re-topologize part of your current mesh you must either duplicate the entire object in object mode or duplicate and separate part of the object in EditMode.
Tutorial
Step One
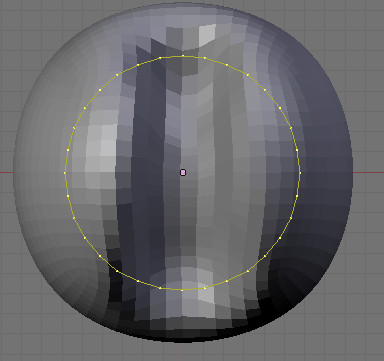
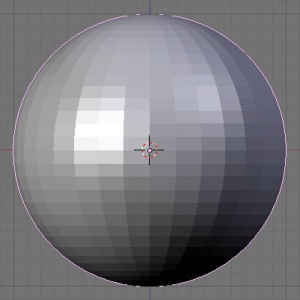
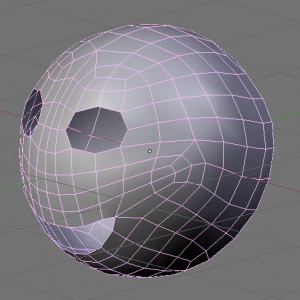
Since retopo modifies topology, not shape, we must first create the shape we will be using. This shape can be almost any 3D object: a mesh, a NURBS surface, metaballs, or even bones. One useful workflow is to quickly block out a shape in sculptmode, then use retopo on that mesh. For this example, I've chosen a simple UVsphere.
Step Two
Add a new mesh. It doesn't matter what you choose; after you create it, press X to erase all vertices.
Step Three
Turn on Retopo. The Retopo toggle is in the Mesh palette in the Editing buttons (F9). You should also check that you have Viewport Shading set to Solid and that Limit selection to visible is off (that's the cube icon next to the vertex/edge/face selection buttons.)
Step Four
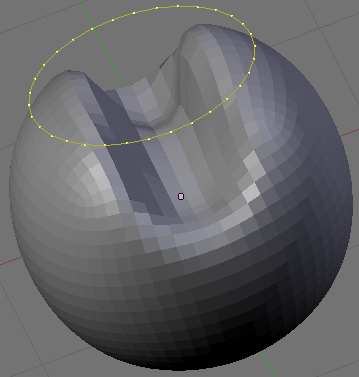
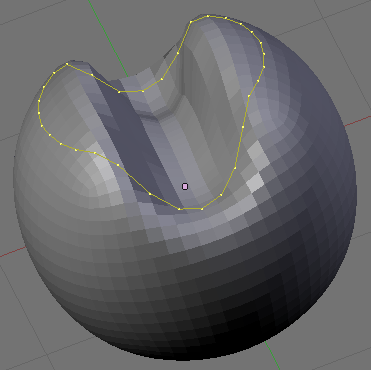
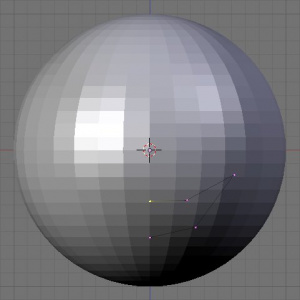
Start adding points by clicking the left mouse LMB ![]() button while holding Ctrl down. This is a normal EditMode operation, except that if you now rotate your view, you can see that the vertices you just added are on the surface of the UVsphere. You can also use extrude, duplicate, grab, rotate, and scale; all of these operations will continue to snap vertices to the surface of the UVsphere.
button while holding Ctrl down. This is a normal EditMode operation, except that if you now rotate your view, you can see that the vertices you just added are on the surface of the UVsphere. You can also use extrude, duplicate, grab, rotate, and scale; all of these operations will continue to snap vertices to the surface of the UVsphere.
Tip
To make using Retopo easier, make sure you're taking advantage of Blender's theme settings. You can use them to increase the size of vertices or to give better contrast to vertices and edges. You may also find it helpful to turn on the X-ray button in the Object buttons (F7 -> Draw panel). You may also find it useful to have multiple 3D viewports open so that you can see whether the vertex placement is as you desired without needing to rotate the model.
Step Five
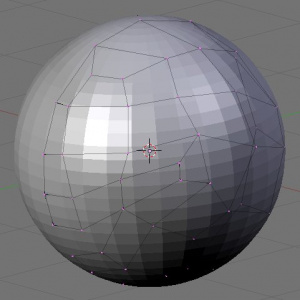
Continue adding points around the rest of the model. Make sure to connect vertices with edges so that you can see the topology you are creating.
Step Six
Once you have all the vertices and edges created, you can turn off Retopo and hide the UVsphere. Still in EditMode, start selecting groups of edges and use F to add faces. When you're done, you should have a complete surface.
Step Seven
Add a mirror modifier and, optionally, subsurf.
