利用者:Fade/Warp
Warp
Mode: Object and Edit modes
Hotkey: ⇧ ShiftW
Menu: Object/Mesh/Curve/Surface » Transform » Warp
The Warp transformation is a little-known tool in Blender, mainly because it is only useful in very specific cases. At any rate, it is not something that the average Blender-user needs to use every day.
Basically, it warps the selected elements around the 3D cursor (always the 3D cursor, it do not takes into account the pivot point setting…). However, the real rules and algorithm seem quite complex… So if you know more, please update this text!
Example
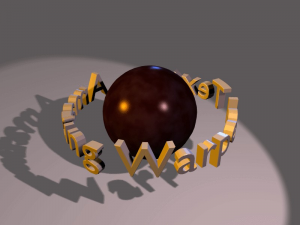
A piece of text wrapped into a ring shape is useful when creating flying logos, but it would be difficult to model without the use of the warp tool. For our example, we’ll warp the phrase “Amazingly Warped Text” around a sphere.
- First add the sphere.
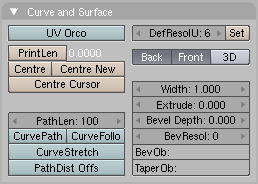
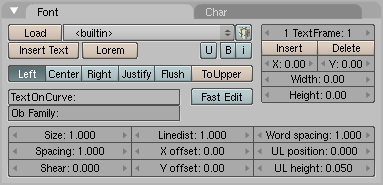
- Then add the text in front view, in the Editing context and Curve and Surface panel set Extrude to 0.1 – making the text 3D, and set Bevel Depth to 0.01, adding a nice bevel to the edge. Make the Bev Resol 1 or 2 to have a smooth bevel and lower the resolution so that the vertex count will not be too high when you subdivide the object later on using (Curve and Surface panel) and (Font panel).
- Convert the object to curves, then to a mesh (AltC twice), because the warp tool does not work on text or on curves.
- Subdivide the mesh twice (W » Subdivide Multi » 2), so that the geometry will change shape cleanly, without artifacts.
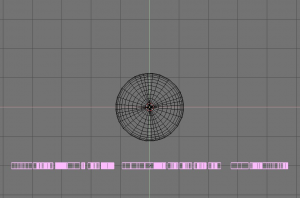
- Switch to top view and move the mesh away from the 3D cursor. This distance defines the radius of the warp. See (Top view of text and sphere).
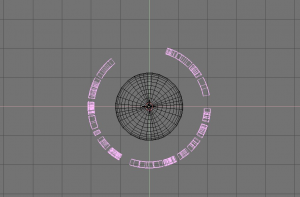
- Place the mesh in Edit mode (⇆ Tab) and press A to select all vertices. Press ⇧ ShiftW to activate the warp transform tool. Move the mouse left or right to interactively define the amount of warp (Warped text).
Now you can switch to camera view, add materials, lights and render (Final rendering).
