利用者:Greylica/Doc:2.6/Manual/Introduction/Installing Blender/Mac
Install Blender on Mac OS X
Installing Blender on a Mac is very easy. There are pre-compiled versions for PowerPC Processors and for 32 and 64 Bit Macs using Intel processors. Once you know your platform and processor :
- Download the appropriate Blender for your system from blender.org download page
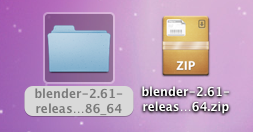
- Click/Right Click RMB
 in the Downloaded file, choose Unzip to a Folder.
 - A Folder where you downloaded Blender will be created, with the same name of the downloaded file, without extension.
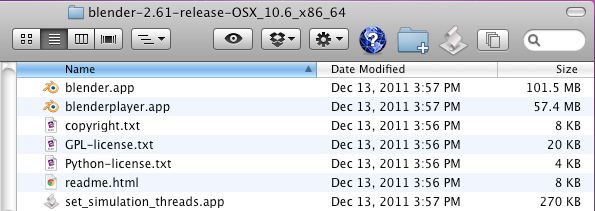
- Click in the folder, it will be opened in Finder (See Fig: Opening Blender From Finder - Below)
- Click twice LMB
 in blender.app file. You're ready to go !
| Supported Platforms for Blender 2.6X and above | |
| Blender 2.6X Versions and above will only run in Computers with PowerPC G5 processors or Macs using Intel processors, Mac OS X 10.4 or higher is required. |
Important: If you need to run Blender from a Command Line to see the Console Window, visit the page about the Blender Console Window
Adding Blender to Applications
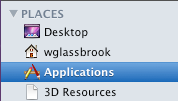
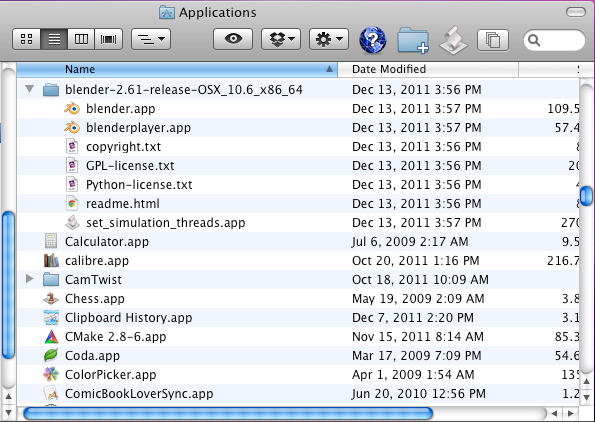
You can move Blender to the Mac OS X Applications folder, it will work like any other application in your Mac. You can do this copying or moving the unzipped file to the Mac Applications Folder. Find the Applications Folder, using the Finder File Browser and searching for Places. At the left side, opening the Places Tab, you will find your Applications folder. Move the Unzipped Blender Folder to the Applications.
Adding Blender to your Dock
To add Blender to your dock, you can do the following:
- When Blender is placed in your Applications folder, click in blender.app and drag it to your dock.
- When Blender is running, right click RMB
 on the Icon present in your Mac Dock, choose Keep in Dock.


