利用者:Koilz/03.12.13 wiki - Actions
目次
Animation Tools: Actions
Actions
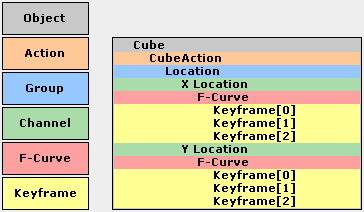
- When animating objects in blender, Actions record and contain the data.
- So when you animate an object by changing its location with keyframes, the animation is saved to the Action.
- Each property Channel, like X Location, has a set of Keyframes so the property can be animated.
- Actions
- Record and contain animation data.
- Groups
- Are groups of channels.
- Channels
- Record properties.
- F-Curves
- Make the keyframes smooth with interpolation.
- Keyframes
- Are used to animate properties.
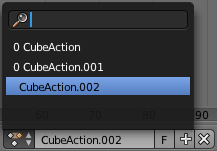
- When you first animate an object, by adding keyframes, the object creates an Action to record the data. New Actions can be created, and you can use and change the action in the Dope Sheet - Action Editor, or the NLA Editor.
- You can Bake Actions, by selecting the object, pressing Space Bar, then typing 'Bake Action', then pressing the 'Bake Action' operator. This will Bake the animation to a new Action. For more info see Python 2.69.1 Bake Action.
Channels
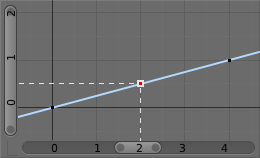
Channels use time to control the values of properties.
Using a F-Curve with Keyframes, the channel reads the time frame and sets the value of the property.
So from this example, if the time frame is 2.0 the property will be 0.5.
Most the settings for the F-Curve are found in the Graph Editor.
Basic Animation
- Here are some common ways to animate objects by adding keyframes to channels.
- These methods can be used on different objects, like armature bones in pose mode.
Insert Keyframe
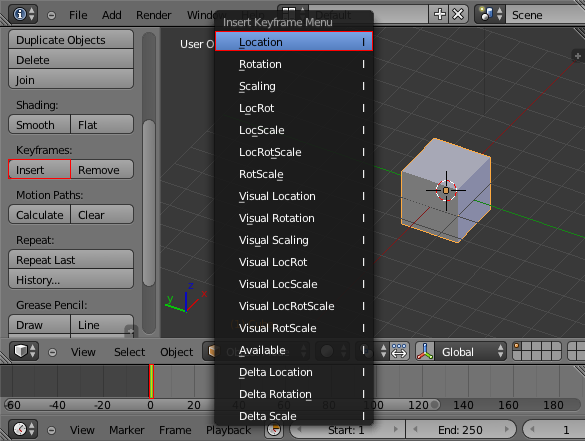
- With a Mesh Object selected in Object Mode, and the frame set in the Timeline. In the 3D View Tools press the 'Insert Keyframe' button, or press I in the 3D View to bring up the 'Insert Keyframe Menu'.
- Select 'Location', this will record the location of the Mesh Object on the frame the Timeline cursor is set.
- The first time you do this, this will add an action to the object, with the Location group, the X, Y, Z channels, and this will add a keyframe to each channel.
- Set the Timeline cursor to a different frame, move the Mesh Object, then insert another keyframe.
- This will now add another set of keyframes to the location channels.
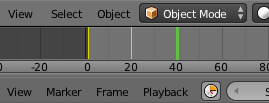
- The keyframes are displayed in yellow on the Timeline. Move the Timeline cursor to test the animation.
Keying Sets
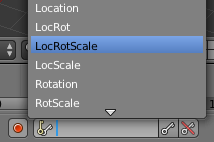
- Keying Sets are a set of keyframe channels in one. They are made to record multiple properties at the same time. There are some built in keying sets, 'LocRotScale', and also custom keying sets.
- Use the keying set menu in the Timeline editor, to select a keying set. Now when you insert a keyframe, blender will add keyframes to all the channels in the selected keying set.
- See Timeline for more info.
- See Keying Sets for more info.
Auto Keyframe
- Auto Keyframe is the red record button.
- Auto Keyframe adds keyframes automatically to the set frame after setting a new value for property.
- See Timeline for more info.
Properties
- Keyframes can be used to animate lots of properties in blender.
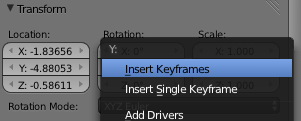
- To add keyframes to a property on the UI, RMB
 the property, then select Insert Single Keyframe, or Insert Keyframes.
 - Insert Keyframes will add a keyframes to the set of properties.
Keyboard
- The keyboard can also be used to add keyframes.
- I: Insert keyframe to the set frame.
- Alt+i: Remove keyframe from the set frame.
- Alt+shift+i: Remove all keyframes from the UI property.
See Also
..
Links
..
