Attic:Old/Manual/PartV/Pseudo-Global Illumination
Pseudo-Global Illumination
The Three Point Light and Pseudo Area Light work well when there is a single, or at least a finite number of lights, casting distinct shadows. The only exceptions are the outdoor setting, where the Hemi Light fakes the light cast by the sky, and the Area Light where multiple spots lights fake a light source of finite extension.
The first of these two is very close to nice outdoor lighting, were it not for the fact that the Hemi Light casts no shadows and hence you don't have realistic results. To obtain a really nice outdoor setting, especially for cloudy daylight, you need light coming from all directions of the sky, yet casts shadows!
This can be obtained by applying a technique very similar to the one used for the Pseudo Area Light setup, but using half a sphere as a parent mesh. This simulates an ambient light, as emitted by the sky.
You can either use a UVsphere or an IcoSphere, the latter has vertices evenly distributed whereas the former has a great concentration of vertices at poles. Hence, using an IcoSphere yields a more 'uniform' illumination, all the points in the sky radiate an equal intensity; in contrast to a UVsphere which casts much more light from the pole(s). It is typically recommended that the IcoSphere is used as the basis for the duplivert.
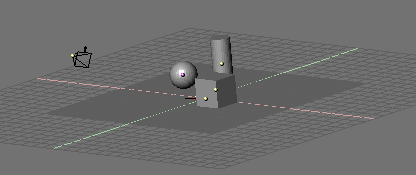
Let's prepare a typical setup, comprising of a plane and various simple solids. We will use simple shapes to better appreciate the results.
- Switch to Top view and add an IcoSphere with a subdivision level of 2; a subdivision of 3 one yields even smoother results.
- Scale the IcoSphere so that it completely, and loosely, contains the whole scene.
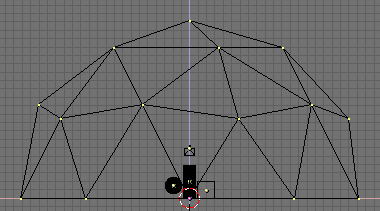
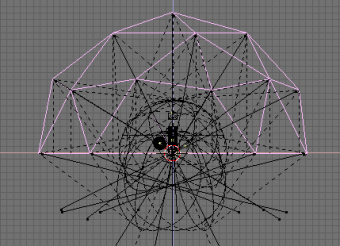
- Switch to front view and, in EditMode, delete the lower half of the IcoSphere, see (Sky dome). This creates a hemi-sphere.
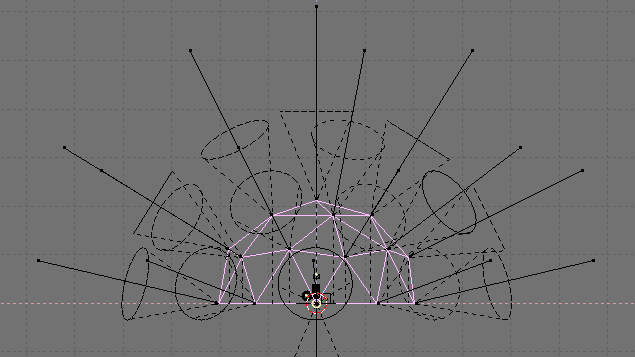
This will be our "Sky Dome" where the Spot lights will be parented and dupliverted. Again in Top View add a Spot Light, parent it to the hemi-sphere IcoSphere (CtrlP) and press the DupliVert and Rot buttons exactly as in the Pseudo Area Light example.
This results in (Sky dome with duplicated spots) as seen from the Front view.
As you can see the duplicated lights are all pointing outwards as a result of all the normals on the hemi-sphere pointing outwards which produces an unlit scene; something we dont' want. As before we want to point the lights inward from the perspective of the hemi-sphere.
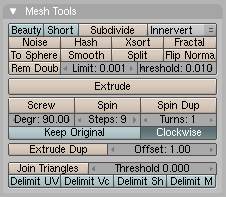
Enter Edit Mode and press the Flip Normals button in the Mesh Tools Panel, (Flipping normals), of the Editing (F9) Context. This leads to the new configuration in Correct sky dome and dupliverted Spot Lights..
To obtain better results select the original Spot Light and change its parameters to a wide angle with soft boundaries using the Lamp and Shadow and Spot panels configured as such:
From the Shadow and Spot panel:
- Enable Buf.Shadows
- SpotSi= 70.0
- SpotBl= 0.5; with suitable
- ClipSta and ClipEnd values = 5 and 30 respectively.
- Samples= 6.0
- Soft = 12
From the Lamp panel:
- Energy = 0.1
Remember you are using many spot lights, so each must be weaker than the original spot light.
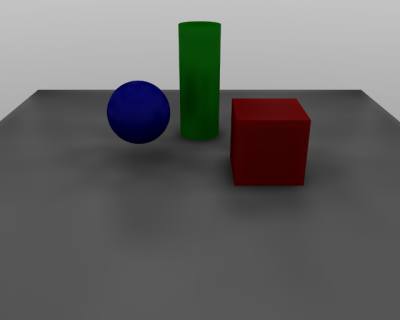
Now we are ready to render the scene. If materials are created and assigned and a world set, the result should be that of (Spot Light setup). Note the soft shadows and the 'omnidirectional' lighting. Even better results can be achieved with a subdivision level 3 IcoSphere.
This technique effectively substitutes, at a very high computational cost, the Hemi outdoor setting. It is possible to add a directional light component by faking the Sun either via a single Spot light or with an Area Light.
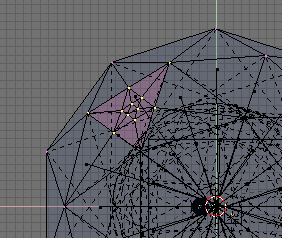
A possible alternative is to make the IcoSphere 'less uniform' by subdividing one of its faces a number of times, as is done for one of the rear faces in (Making spots denser in an area). This is done by selecting a single face and pressing the Subdivide button,
again using the Mesh Tools Panel of the Editing (F9) Context. Then de-select all, re-select the single inner small face and subdivide it again, and so on.
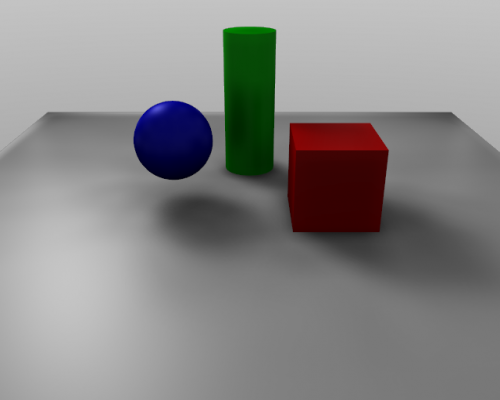
The result is a very soft directional light together with a global illumination sky dome or, briefly, an Anisotropic sky dome (Anisotropic skydome render). This is quite good for cloudy conditions, but not so good for clear sunny days. For really clear days, it is better to keep the sky dome separate from the Sun light, so as to be able to use different colours for each.
