Doc:2.6/Manual/Animation/Techs/Shape/Shape Keys/Examples
目次
Shape Key Examples
We are going to illustrate what we saw in the previous pages with two examples, a simplistic face for relative shape keys, and a simple growing flower for absolute shape keys.
A Face Animation With Relative Shape Keys
This first example is going to be very simple, but I hope it to illustrate all key points of relative shape keys! We’ll use a face with just two eyes and a mouth – if you are used to comics, you should know this is enough to express nearly all human feelings…
Modeling
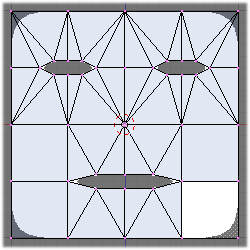
This is quite trivial – just add a plane and subdivide it a few times, then insert in it the eyes and the mouth openings, using selective subdivision and deletion of faces/edges… See the modeling chapter for more details.
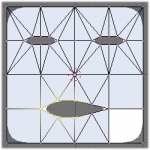
Once a Subdivision Surface modifier added, you should get something similar to (A quite simple face’s mesh).
Now, add vertex groups for each “animation part”: eye_r, eye_l, mouth_r, and mouth_l (I hope you know which vertices to put in each group!).
Creating Shape Keys
The first created shape key (Basis) will keep its neutral face as we modeled it. Next we add the “pieces of feeling” shapes – even with such a simple face, we’ll create quite a bunch of keys:
- For the right eye, create an
eye_r_closeone, aneye_r_sad(eye rotated, lower at the border of the face), and aneye_r_angry(eye rotated, upper at the border of the face). Do the same for the left eye (eye_l_…).
- For the right part of the mouth, create
mouth_r_shut,mouth_r_open,mouth_r_down, andmouth_r_upshape keys. Again, do the same for the left part of the mouth.
For each of these keys, type in their Vertex Group field the name of the relevant vertex group we previously created – this way, you explicitly restrain your keys to affect only “their” vertices. You will see how this might be useful later in this example.
This makes fourteen keys (plus the Basis one), fourteen “expression bricks”, sufficient to build nearly every human expression (in a “comic” fashion – a realistic face would need to include much more details and elements, like eyebrows, nose, etc.)
Animating
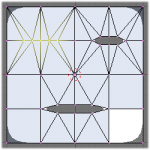
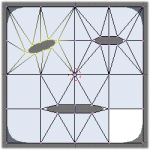
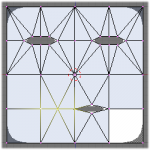
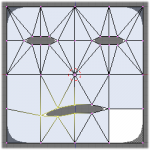
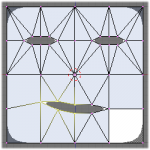
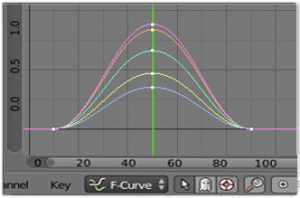
Many relative shape keys can be blended together. For example, to create an half-smile (left part of the mouth) with a right eye blink, starting from the default state (all shape keys’ influences set to zero, i.e. Basis shape active only), close a bit the right mouth part (mouth_r_shut), rise and open the mouth left part (mouth_l_open, mouth_l_up), close slightly the right eye (eye_r_close), and make it bend a bit (eye_r_sad). You should get something similar to (A first expression example). You can use the slider of each shape key to set their value, or directly add and edit F-curves for their channels in the Graph Editor window.
Now that you know how to create an expression, animate it!
Let’s say we start at frame 10 with the neutral expression, want the full half-smile with the blink at frame 50, and back to neutral face at frame 90.
First, move the whole keyframe you created above at frame 50 (use for example the Graph Editor…). Then, add new keyframes at frame 10 and 90, by setting all above affected shape keys at zero.
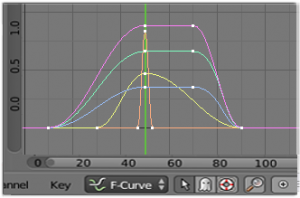
This will give us an animated face – but the playback (AltA) is not very convincing! The eye blink should be very short, compared to the mouth smile. Well, this is just F-curve timing – narrow the “zero” control points of the eye_r_close F-curve near the 50 frame. Similarly, the smile might stay a few frames at its maximum, so duplicate the “full smile” control points of the mouth_r_shut, mouth_l_open and mouth_l_up F-curves, and move them e.g. to frame 70.
Hit AltA again – now that’s better.
Using this process, you can animate your face, make it laugh, cry, talk, frightened, angry, etc. As Shape Keys datablocks can become actions, you could also use actions to gather all these small “expression bricks” animations in higher-level actions (one for laugh, crying, etc.), and then use them in the NLA…
One last thing: we are going to see why we created those vertex groups. Right now, you can erase their names in the Vertex Group fields of your shape keys, you’ll see no difference in the animation. But our face is somewhat squarish – let’s make it more rounded!
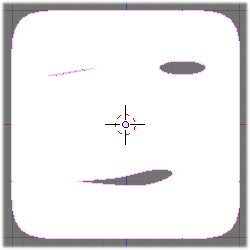
Select the Basis key, enter Edit mode (⇆ Tab), select the border vertices, and make them ”circle-ish” (use e.g. the To Sphere tool). Now, if you erased the vertex groups’ names from your key fields, you are going to have a surprise: each time one of these keys have an influence higher than zero, the face tends to come back to its squarish shape – it even become sometime “over-squarish”! Arg!
Remember: a shape key stores all its vertices’ positions. As you edited the Basis one, but not the others, for these the face is still squarish. You have two ways to solve this problem:
- You can propagate the change from
Basisto all other shape keys (select the affected vertices, and hit W » Shape Propagate). This will result in modifying all shape keys – you’ll often have to check them after that, to make sure this didn’t affect them in an undesired way… - You can use vertex groups to control shape keys’ influence! Type again the relevant names in your shape keys’ Vertex Group fields, et voila! Playing again the animation, you can see that the face now remains nicely rounded in every circumstances!
A Growing Flower Animation With Absolute Shape Keys
This is going to be a “nicer” example – let’s make grow a (daffodil inspired) flower.
Here again, we’ll use a mesh. Note that this won’t be a realistic grow – it would take days to model such one!
Modeling
We won’t detail the flower modeling here – see the dedicated chapter! Our flower is made of several distinct meshes (the bulb and roots, the leaves, the stem, and the flower), each created by extrusion (and a few sub-divisions) of basic shapes, and each having a simple, solid-colored material.
One key point when you model an object you intent to morph with absolute shape keys is to keep in mind all steps it is going to go through – remember you cannot change the topology of your object with shape keys (i.e. cannot add nor remove vertices, edges or faces)!
Also, you should model your object in its most “neutral” state – here, I decided to make the “daffodil” nearly full grown, but with the stem still perfectly straight, its flower bud closed, and the flower itself (a separated mesh) completely apart.
This will become your Basis key – but with absolute keys, you do not have to use it at all!
Creating Shape Keys
As said above, we won’t use the first added shape key (Basis one). And don’t forget to disable the Relative button!
In general, it’s easier to go from “most complex” to “simplest”, so our first real key (named Final) will be the full grown flower. Again, we wont detail the modeling here (only vertices/edges/faces transformations, now!).
Then, we add, based on the previous final key, the “previous” one, flower_mid, which, once correctly edited, represents the flower half opened.
The “previous” one, flower_start, will represents the stem and leaves fully developed, but with a closed flower bud – nearly the same as the first Basis key, so just add it from this one!
From now on, we continue to add “previous” keys, regressing each time the flower development (stem_mid, stem_start, leaves_mid, init). Each key is based on the “next” one, just shortening the stem, leaves, roots…
Once again, this example is very raw – to have a good growing interpolated animation would need more keys (if you look close to the video, or the blend file, you’ll see there are some interpolation artifacts…).
Animating
Well, this is the best part! You just have to organize well your shape keys’ lines in the Graph Editor window – they must be in the right order, first init one, then mid_leaves, start_stem, etc.
Next thing to do is to keyframe linear this shape keys, starting at frame 25 on the first init shape key and ending at frame 475 on the last final one, but you might use a more complex one, to control the morphing more precisely!
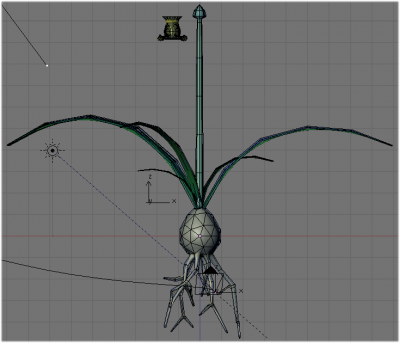
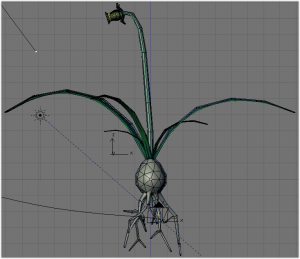
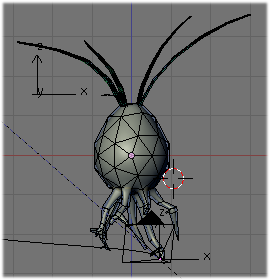
If you do not have the video, here are some screenshots:
