Doc:2.6/Manual/Modeling/Meshes/Editing/Faces
Page status (reviewing guidelines)
Images
normals, quads to tris
|
目次
Face Tools
These are tools that manipulate faces.
Creating Faces
Make Edge/Face
Mode: Edit mode
Hotkey: F
Menu: Mesh » Faces » Make Edge/Face
This will create an edge or some faces, depending on your selection. It is detailed in the Basic Editing page.
Fill
Mode: Edit mode
Hotkey: AltF
Menu: Mesh » Faces » Fill/Beautify Fill
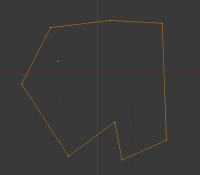
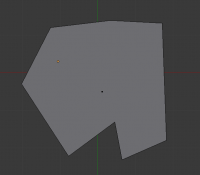
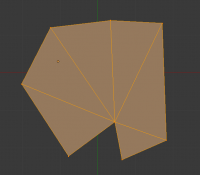
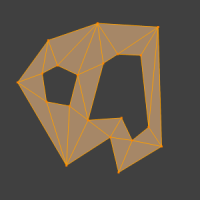
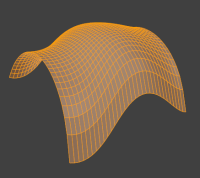
The Fill option will create triangular faces from any group of selected edges or vertices, as long as they form one or more complete perimeters.
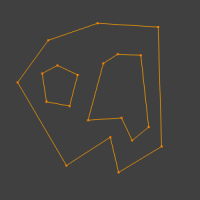
note, unlike creating n-gons, fill supports holes.
Beauty Fill
Mode: Edit mode
Hotkey: Alt⇧ ShiftF
Menu: Mesh » Faces » Fill/Beautify Fill
Beautify Fill works only on selected existing faces. It rearrange selected triangles to obtain more “balanced” ones (i.e. less long thin triangles).
Grid Fill
Mode: Edit mode
Menu: Mesh » Faces » Fill/Grid Fill
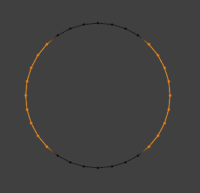
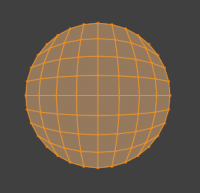
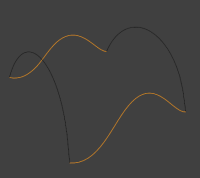
Grid Fill uses a pair of connected edge-loops to fill in a grid that follows the surrounding geometry.
Convert Quads to Triangles
Mode: Edit mode
Hotkey: CtrlT
Menu: Mesh » Faces » Convert Quads to Triangles or Face Specials » Triangulate
As its name intimates, this tool converts each selected quadrangle into two triangles. Remember that quads are just a set of two triangles.
Convert Triangles to Quads
Mode: Edit mode
Panel: Mesh Tools (Editing context)
Hotkey: AltJ
Menu: Mesh » Faces » Convert Triangles to Quads
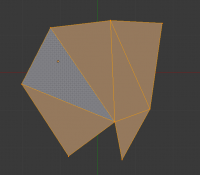
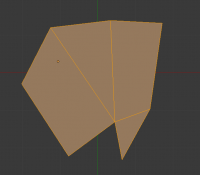
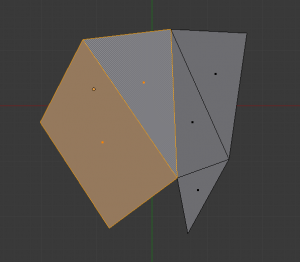
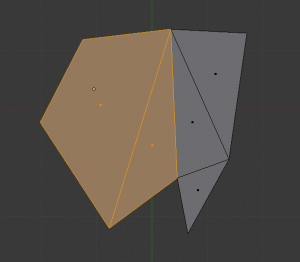
This tool converts the selected triangles into quads by taking adjacent tris and removes the shared edge to create a quad, based on a threshold. This tool can be performed on a selection of multiple triangles.
This same action can be done on a selection of 2 tris, by selecting them and using the shortcut F, to create a face, or by selecting the shared edge and dissolving it with the shortcut X » Dissolve.
To create a quad, this tool needs at least two adjacent triangles. If you have an even number of selected triangles, it is also possible not to obtain only quads. In fact, this tool tries to create “squarishest” quads as possible from the given triangles, which means some triangles could remain.
All the menu entries and hotkey use the settings defined in the Mesh Tools panel:
- Max Angle
- This values (between 0 and 180) controls the threshold for this tool to work on adjacent triangles. With a threshold of 0.0, it will only join adjacent triangles that form a perfect rectangle (i.e. right-angled triangles sharing their hypotenuses). Larger values are required for triangles with a shared edge that is small, relative to the size of the other edges of the triangles.
- Compare UVs
- When enabled, it will prevent union of triangles that are not also adjacent in the active UV map. Note that this seems to be the only option working…
- Compare Vcol
- When enabled, it will prevent union of triangles that have no matching vertex color. I’m not sure how this option works – or even if it really works…
- Compare Sharp
- When enabled, it will prevent union of triangles that share a “sharp” edge. I’m not sure either if this option works, and what is the “sharp” criteria – neither the Sharp flag nor the angle between triangles seem to have an influence here…
- Compare Materials
- When enabled, it will prevent union of triangles that do not use the same material index. This option does not seem to work neither…
Solidify
Mode: Edit mode
Hotkey: CtrlF » Solidify
Menu: Mesh » Faces » Solidify
This takes a selection of faces and solidifies them by extruding them uniformly to give volume to a non-manifold surface. This is also available as a Modifier. After using the tool, you can set the offset distance in the Tool Palette.
- Thickness
- Amount to offset the newly created surface. Positive values offset the surface inward relative to the normals. Negative values offset outward.
Rotate Edges
Mode: Edit mode
Menu: Mesh » Faces » Rotate Edge CW
This command functions the same edge rotation in edge mode.
It works on the shared edge between two faces and rotates that edge if the edge was selected.
See Rotate Edge CW / Rotate Edge CCW for more information.
Normals
As normals are mainly a face “sub-product”, we describe their few options here also.
See Smoothing for additional information on working with face normals.
Flip Direction
Mode: Edit mode
Hotkey: W » Flip Normals}
Menu: Mesh » Normals » Flip or Specials » Flip Normals
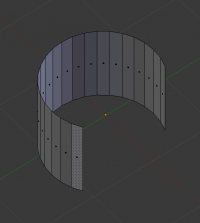
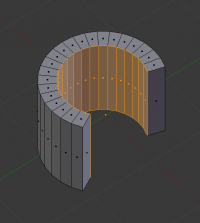
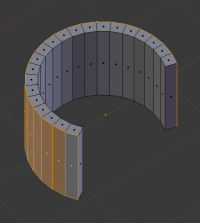
Well, it will just reverse the normals direction of all selected faces. Note that this allows you to precisely control the direction (not the orientation, which is always perpendicular to the face) of your normals, as only selected ones are flipped.
Recalculate Normals
Mode: Edit mode
Hotkey: CtrlN and ctrl
Menu: Mesh » Normals » Recalculate Outside and Mesh » Normals » RecalculateInside
These commands will recalculate the normals of selected faces so that they point outside (respectively inside) the volume that the face belongs to. This volume do not need to be closed. In fact, this means that the face of interest must be adjacent with at least one non-coplanar other face. For example, with a Grid primitive, neither Recalculate Outside nor Recalculate Inside will never modify its normals…
