Doc:2.6/Manual/Modifiers/Generate/Solidify
Solidify Modifier
Mode: Any mode
Panel: Modifiers
Description
The Solidify modifier takes the surface of any mesh and adds a depth to it.
Options
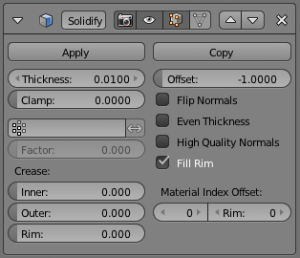
- Thickness
- The depth to be solidified.
- Offset
- A value between -1 and 1 to locate the solidified output inside or outside the original mesh. Set to zero, Offset will center the solidified output on the original mesh.
- Clamp
- A value between 0 and 2 to clamp offsets to avoid self intersection.
- Vertex Group
- Restrict the modifier to only this vertex group.
- Invert
- Inverts the previous selection.
- Crease
- These options are intended for usage with the Subdivision Surface modifier.
- Inner
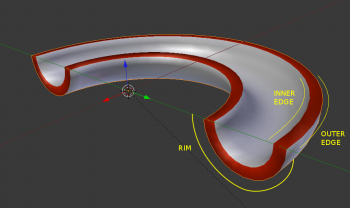
- Assign a crease to the inner edges.
- Outer
- Assign a crease to the outer edges.
- Rim
- Assign a crease to the rim.
- Even Thickness
- Maintain thickness by adjusting for sharp corners. Sometimes improves quality but also increases computation time.
- High Quality Normals
- Normals are calculated to produce a more even thickness. Sometimes improves quality but also increases computation time.
- Fill Rim
- Fills the gap between the inner and outer edges.
- Rim Material
- Uses the object's second material for the rim; this is applied as an offset from the current material.
Hints
- The modifier thickness is applied before object scale; if maintaining a fixed thickness is important use unscaled objects (or account for the scale).
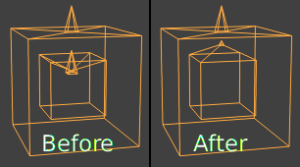
- Solidify thickness is an approximation. While "Even Thickness" and "High Quality Normals", should yield good results, the architectural/CAD modeling the final wall thickness isn't guaranteed, depending on the mesh topology. To look at it differently - maintaining precise wall thickness in some cases would need to add / remove faces on the offset shell - something this modifier doesn't do since this would add a lot of complexity and slow down the modifier.


