Doc:2.6/Manual/Modifiers/Deform/Curve
Curve Modifier
Mode: Object mode
Panel: Modifiers
The Curve Modifier provides a simple but efficient method of defining a deformation on a mesh based on the position of an curve object.
The Curve Modifier works on a (global) dominant axis, X, Y, or Z. This means that when you move your mesh in the dominant direction, the mesh will traverse along the curve. Moving the mesh in an orthogonal direction will move the mesh object closer or further away from the curve. The default settings in Blender map the Y axis to the dominant axis. When you move the object beyond the curve endings the object will continue to deform based on the direction vector of the curve endings.
Options
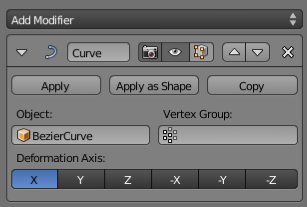
- Object
- The name of the curve object that will affect the deformed object.
- Vertex Group
- A vertex group name within the deformed object. The modifier will only affect vertices assigned to this group.
- Deformation Axis
- X, Y, Z, -X, -Y, -Z: This is the axis that the curve deforms along.
Example
Let’s make a simple example:
- Remove default cube object from scene and add a Monkey (⇧ ShiftA → Add → Mesh → Monkey, Add a Monkey!)!
- Now add a curve (⇧ ShiftA → Add → Curve → Bezier Curve, Add a Curve).
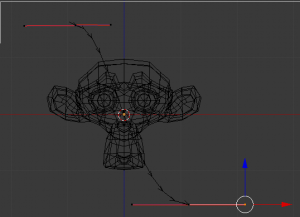
- While in Edit mode, move the control points of the curve as shown in (Edit Curve), then exit Edit mode (⇆ Tab).
- Select the Monkey (RMB
 ) in Object mode
 - Assign the curve to the modifier, as shown below. The Monkey should be positioned on the curve:
- Now if you select the Monkey (RMB
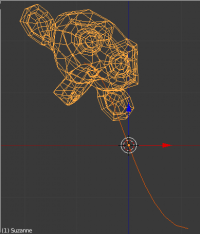
 ), and move it (G), in the Y-direction, the monkey will deform nicely along the curve.
| A Tip | |
| If you press MMB |
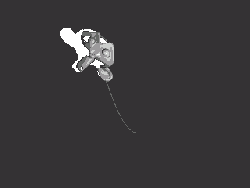
- In the image to the right you can see the Monkey at different positions along the curve. To get a cleaner view over the deformation SubSurf got applied with Subdiv to 2, and Set Smooth on the Monkey mesh.


