Doc:2.6/Manual/Modifiers/Generate/Mask
Mask Modifier
Mode: Any mode
Panel: Modifiers
Description
The Mask modifier allows certain parts of an object's mesh to be hidden from view (masked off), in effect making the parts of the mesh that are masked act as if they were no longer there.
Options
- Mode
- The Mask modifier can hide parts of a mesh based on two different modes, selectable from this drop-down list:
- Vertex Group
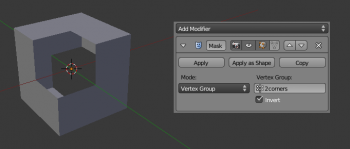
- When the Vertex Group option is selected, the Mask modifier uses the specified vertex group to determine which parts of the mesh are masked by the modifier.
- Once you have entered the desired name, the Mask modifier will update so that those vertices of the mesh which are part of the named vertex group will be masked (which normally means they will be visible), and anything not part of the named vertex group will be made non-visible.
- Any of the methods for assigning vertex weights to a mesh work with the Mask modifier; however the actual weight value assigned to a vertex group is completely ignored. The Mask modifier only takes into account whether a set of vertices are part of a group or not; the weight is not taken into account. So having a vertex group weight of say 0.5 will not make a partially masked mesh. Just being part of the vertex group is enough for the Mask modifier, even if the weight is 0.0.
- Armature
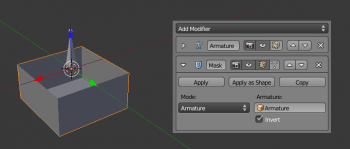
- Useful in Pose Mode or when editing an armature. Enter the name of the armature object in the text field. When working with bones in Pose mode, vertex groups not associated with the active bone are masked. The Inverse button can be useful to see how a bone affects the mesh down the chain of bones.
- Inverse
- Normally, when the Mask modifier is applied to areas of a mesh, the parts that are under the influence of the modifier are left visible while the parts that aren’t are hidden. The Inverse button reverses this behavior, in that now parts of the mesh that were not originally visible become visible, and the parts that were visible become hidden.

