Doc:2.6/Manual/Textures/Assigning a Texture
Assigning a Texture
This page just shows how to add a texture to a slot. The textures' commons options are explained here.
Choosing the Texture context
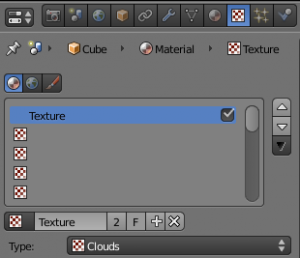
In the Properties editor, choose the Texture context: this will show the Texture panel.
Choosing the Texture data type
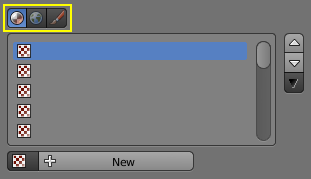
The three buttons Material, World, Brush at the top of the texture panel indicate the texture data type, that is, the kind of texture that is being edited.
Textures Slots
The list below these buttons represent the Stack of textures that we can manage. It can have up to eighteen Texture Slots:
- Tick or untick a texture to enable/disable it.
- Use the three buttons on the right side to move individual textures up and down in the stack or to copy/paste material's settings between slots.
Creating a new Texture Datablock in a new Texture Slot
Select an empty slot, then click on the + New button.
This will do two things:
- it will create a new texture datablock
- also, it will add a new slot in the textures stack
Creating a new Texture Datablock in a non-empty slot
Select a non-empty slot, then click on the + button.
This will do two things:
- it will create a new texture datablock, with a new name, making a copy of the texture datablock assigned to the selected slot
- it will assign this new datablock to the selected slot
Sharing a Texture Datablock in a non-empty slot
- Select a non-empty slot, then click on the Browse button. This will open a menu showing all the available Texture Datablocks in this file.
- Choose a texture datablock in the menu to assign it to the selected slot. This will share the chosen texture with more than one object, hence the Number of users shown in the texture datablock will increase by one.


