Doc:2.6/Tutorials/Rendering/Cycles
Cycles is a render engine that was introduced in Blender 2.61. Its materials and lighting setup is entirely different compared to Blender Internal (BI). This tutorial will go through giving materials and lighting to a simple scene.
Setting up Cycles
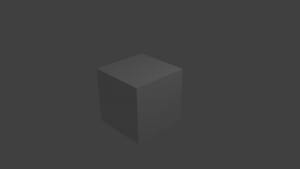
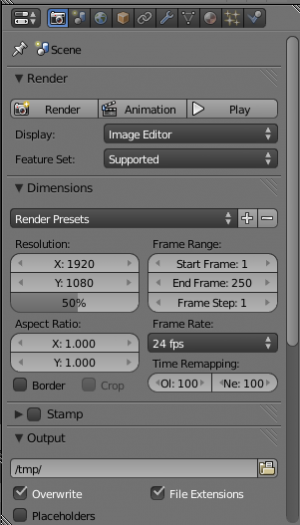
Blender ships with Cycles disabled; to enable it, click on the pulldown menu on the top header marked "Blender Internal", then select "Cycles Render". Cycles is now enabled; you can hit F12 or click "Render" in the Properties screen. Since the scene just contains a cube without any setup for Cycles, there's nothing here that the BI engine couldn't do.
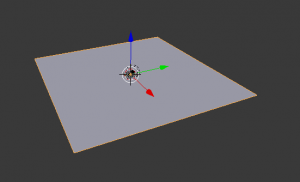
So let's show off one of Cycle's neat features: true ambient occlusion. For that, we need another object (a simple plane will work fine) and materials. Let's add the floor first. Add a plane (⇧ ShiftA » Mesh » Plane), tab into Edit mode, and scale it 100 times (S 100 ↵ Enter), then tab back into Object mode. If solid shading is enabled (the Z key toggles solid and wireframe shading), you should be able to see your plane:
There's a problem: the cube is embedded in the plane. So select the cube (RMB ![]() ), then type GZ 1 ↵ Enter. (You may want to hide the ground as we won't be needing it again: just select it and type H. It will still be rendered, but it won't get in the way in the 3d view.)
), then type GZ 1 ↵ Enter. (You may want to hide the ground as we won't be needing it again: just select it and type H. It will still be rendered, but it won't get in the way in the 3d view.)
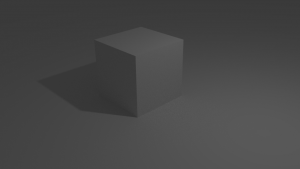
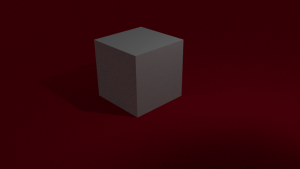
Now we can hit F12 to render again. Here's what it should look like:
Materials
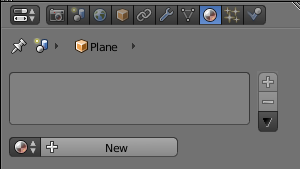
Now let's give both the floor and the cube materials. If you hid the floor, you can either select it in the Outliner (it's called Plane) or press AltH to unhide the plane, then RMB ![]() select it. Then go to the Materials panel and click +New to create a new material.
select it. Then go to the Materials panel and click +New to create a new material.
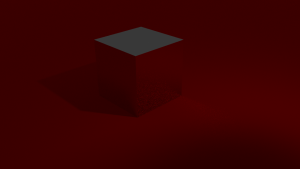
What should the floor look like? Since we're showing off Cycles here, let's make it look like red velvet. By default Cycles materials are set up with a single Diffuse BSDF node; click on Diffuse BSDF and select "Velvet BSDF". To make it red, click on the white color swatch and type in "ff0000" under the Hex tab. The default sigma of 1 will work. Now, if you press F12 to render, we see a red (kind of velvety) floor and the same gray cube.
Now let's give a preliminary material to the cube. Select the cube, then go to the materials panel. There's no +New button, though; that's because it already has a BI material, and BI materials don't use nodes while Cycles needs material nodes. So click on Use Nodes; now all of Cycles' options appear.
I think that the cube would look good with a shiny metallic surface, so click Diffuse BSDF and select "Glossy BSDF". There's now a new button to select the algorithm used to calculate reflections; Beckmann is fine here. If we render again, the cube is definitely shiny.
But almost too glossy. Let's make it slightly blurry, sort of like a frosted glass door. Make sure the cube is selected, then go to the Materials panel and click in the middle of the Roughness slider and type "0.1", then ↵ Enter. Now if we render again, the cube is visibly less glossy.
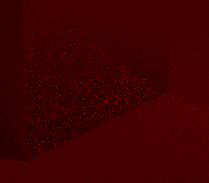
But if we look closely at the right of the cube, there's something happening there.
There's some noise on the cube. This is because of how Cycles renders and can be alleviated by increasing the numbers of samples the Cycles integrator makes. To increase the number of samples, go to the Render tab of the Properties panel and scroll down to "Sampling".
If it's hidden, click the small arrow to the left of the text, then change the "Render" slider to 50. The renders will take much longer, but the noise will disappear. (There are other tips to reduce noise here.)
Lighting
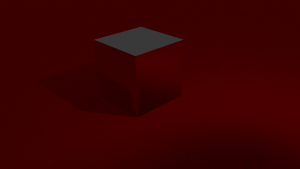
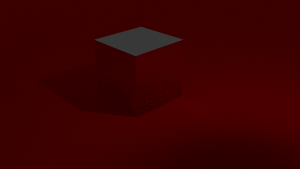
The scene as it is isn't very bright; you can barely see the cube (although being glossy definitely doesn't help). So let's make the lights brighter.
Cycles has a new lighting system; while the old lamp type still works, it's possible to have an object emit true mesh light. Basically, this means you can have a plane that glows.
First, we need to add a plane (⇧ ShiftA » Mesh » Plane). Then move it up 10 units (GZ 10 ↵ Enter), then scale it ten times larger (tab into Edit mode, S ⇧ ShiftZ 10, tab back into Object mode). Now we have to give it an Emission material. Click +New to add a new material, then click Diffuse BSDF and select Emission. That's all you need to do; if you render it now, the scene will be much brighter.
It's too bright now; the shadow to the left of the cube is barely visible. So select the default point lamp, go to the Lamp tab of the Properties panel, then change the type to Spot. Once again, the lamp material (yes, lamps have materials, too) was set up for the BI engine; you have to click Use Nodes to enable Cycles materials. Then change the Strength to something like 500 and render the scene again with F12.
(You might want to move the camera away from the cube so you can see the spot effect more clearly; press 0 NumPad, then press F to enable fly mode.

