「Doc:2.6/Manual/Modeling/Objects/Duplication/DupliFrames」の版間の差分
(→Examples: typo) |
細 (1版 をインポートしました) |
(相違点なし)
| |
2018年6月29日 (金) 04:41時点における最新版
DupliFrames
DupliFrames is a tool to duplicate objects at frames distributed along a path. This is a useful tool to quickly arrange objects.
Examples
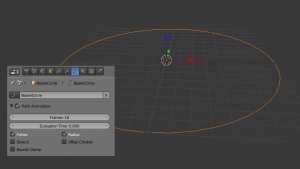
⇧ ShiftA to add a Bezier Circle and scale it up. In the Curve menu under Path Animation enable Follow and set Frames to something more reasonable than 100 (say 16).
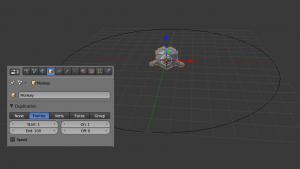
Add a Monkey. In the Object menu under Duplication enable Frames and disable Speed.
Speed
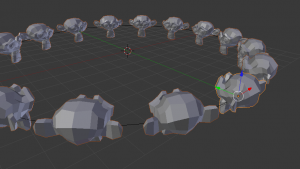
The Speed option is used when the parent-child relationship is set to Follow Path (see below). In this example, the monkey will then travel along the circle over 16 frames.
|
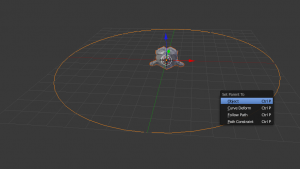
To parent the monkey to the Bezier circle, first select the monkey then the curve (so that the curve is the active object) and CtrlP. Select the monkey and AltO to reset its origin.
You can now change the orientation of the monkey by either rotating it (either in Edit mode or Object mode) or by changing the Tracking Axes under Animation Hacks (with the monkey selected). The arrangement of monkeys can, of course, be further enhanced by editing the curve.
To transform all monkeys into real objects, first Ctrl⇧ ShiftA to Make Duplicates Real. All monkeys are now real objects, but still linked copies. To change this, Object→Make Single User→Object&Data then choose All.
Note
There are many alternatives to Dupliframes. Which tool to use depends on context.
|
External links


