「Extensions:2.6/Py/Scripts/Neuro tool/visualization」の版間の差分
細 (1版 をインポートしました) |
|
(相違点なし)
| |
2018年6月29日 (金) 05:57時点における最新版
| UI location | 3D View » Image Stack Interactions | ||
|---|---|---|---|
| Version | 1.3 | Author(s) | Biagio Nigro, Anne Jorstad, Tom Boissonnet |
| Blender | 2.68-2.76 | License | GPL |
| File name | NeuroMorph_Image_Stack_Interactions.py |
|---|---|
| Current version download | https://github.com/ajorstad/NeuroMorph |
OVERVIEW
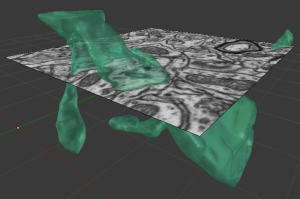
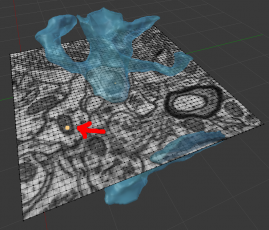
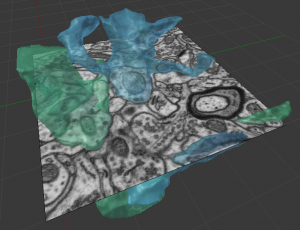
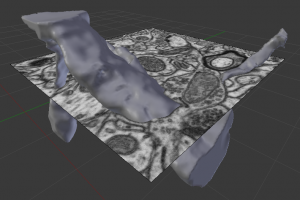
This module superimposes images from the original (electron microscopy) image stack onto mesh objects. The images are displayed in the x-y plane. The images are uploaded into empty objects in Blender.
Individual points on the images can be selected, and objects containing those points can be retrieved (from the possibly hundreds or thousands of invisible objects in the scene) and made visible, allowing for easy navigation of object connectivity.
DESCRIPTION
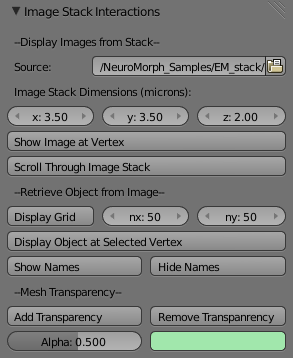
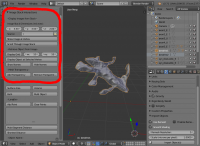
The script inserts a panel called "Image Stack Interactions" into the tool region at the left of the Blender interface. Individual mesh points can be selected from any mesh in Edit mode to display the corresponding image from the image stack, and individual grid points on the image can be selected in Edit mode to display the objects present in the scene at that location.
Display Images from Stack
- Source: Click to navigate to the folder containing the images of the original image stack.
- Since version 1.3 it is possible to use either a single image stack (use Source_Z), or
- Input image stacks in the Z (original), X and Y dimensions, to be able to visualize images in all 3 dimensions.
- These new image stacks can be generated using the Fiji macro Generate_3D_image_stacks.ijm provided on our GitHub page.
- Image Stack Dimensions (microns): The x-, y-, and z-dimensions of the original image stack used to obtain the mesh objects, in microns. (Must be consistent with the imported meshes, else the images will display incorrectly.)
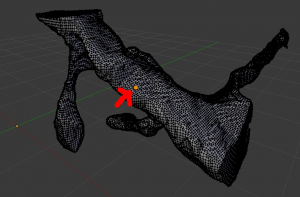
- Show Image at Vertex: Displays image plane from stack at the location of highlighted mesh point (in Edit mode). Can display multiple images at once. (It is not recommended to click this button with an entire mesh highlighted.)
- Scroll Through Image Stack: From an active image, use the mouse scroll wheel to scroll through the image stack and have the images displayed at their proper locations superimposed on the mesh objects. (Shortcut: CtrlY)
- Since version 1.3 can optionally scroll through the image stack faster by pressing shift while scrolling, moving the image by the "shift step" instead of 1.
Retrieve Mesh Objects from Images
- Display Grid: Overlays a grid of nx by ny points on the active image.
- Display Object at Selected Vertex: Makes visible all objects that contain the currently selected grid point(s) (in Edit mode). If objects are stored in separate layers, they will be made visible in their respective layers. (It is not recommended to click on this button with the entire grid highlighted.)
- Show Names: Displays the names of currently selected objects in the scene and their child objects.
- Hide Names: Hides the names of currently selected objects in the scene and their child objects.
Mesh Transparency
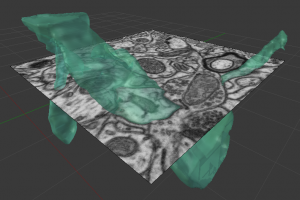
- Add Transparency: Makes the selected mesh transparent. The user can then adjust the color and amount of transparency.
- Remove Transparency: Makes the selected mesh opaque.
- Alpha: Adjust the amount of transparency.
- (color bar, initially white): Change the color of the transparent object.
Back to NeuroMorph Introduction page
