「Dev:Ref/Release Notes/2.64/Keying」の版間の差分
(→Keying node) |
細 (1版 をインポートしました) |
(相違点なし)
| |
2018年6月29日 (金) 05:49時点における最新版
目次
Blender 2.64: Green Screen Keying
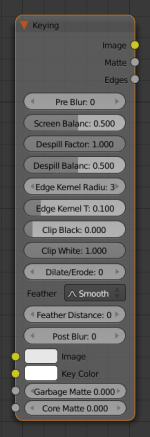
Two new compositing nodes have been developed which are aimed at making green screen keying easier. There is now a new keying node conveniently combing various features from existing nodes along with a new keying algorithm, to makes setup much faster. There is also a keying screen node which produces a gradiented plate to deal with uneven colors of green screens.
Usage
Keying Node
First, you need to connect the input image which you want to key. Then you either connect a Keying Screen node as screen color source or choose a single color manually using the color picker.
After this you'll have an initial keying already, which can then be tweaked in various ways:
- Pre-blur can be used in cases of high color grain of the input image. This will reduce its amount by using chroma blur with a given size. This will affect on matte calculation only, not to result image.
- Despill controls how much color is despilled from input image: 0 means no despilling, 1 means all possible spilling will be removed.
- Edge Kernel Radius defines radius of kernel within which pixels would be used to determine whether pixel is on an edge. The actual size of the kernel is 2 * kernel_radius + 1.
- Edge Kernel Tolerance defines threshold used to check if pixels in kernel are the same as current pixel: if the difference between pixel colors is higher than this threshold then it's more likely the point will be considered as an edge.
- Clip Black and Clip White are used to increase matte contrast and make almost-background pixels background pixels and almost-foreground pixels foreground pixels.
- Dilate/Erode might be used to dilate/erode the matte.
- Feather Falloff and Feather Distance control feathering around the matte. This can give accurate results than Dilate/Erode in some cases, due to the smoother falloff.
- Post-blur is applied on the matte to make it less sharp.
Keying Screen Node
Currently the Keying Screen node supports creating gradients based on movie clip and motion tracking data. So the first step is to open a clip in the movie clip editor.
When it's open, you'll probably want to create new a tracking object, because tracks used for gradients can not actually be used for camera/object tracking. After this tracks might be placed in places where gradient colors should be defined. These tracks could be tracked or moved manually, so gradients would be updating automatically along the movie. Tracks might have an offset for easier tracking of feature-less screens.
When it's done go to compositor. Then open the Add » Matte » Keying Screen menu and you'll see a node as displayed in the image. As soon as the movie clip and tracking object is set, the gradient screen will appear in the output socket of this node.
Results
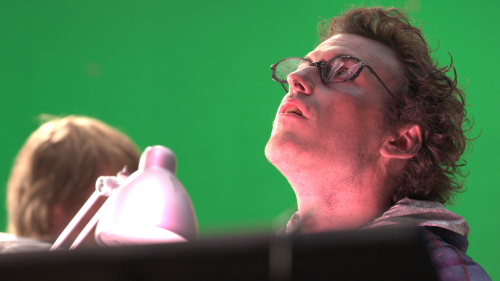
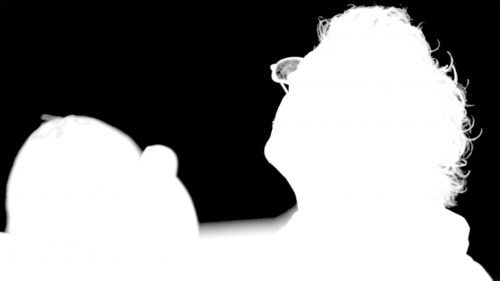
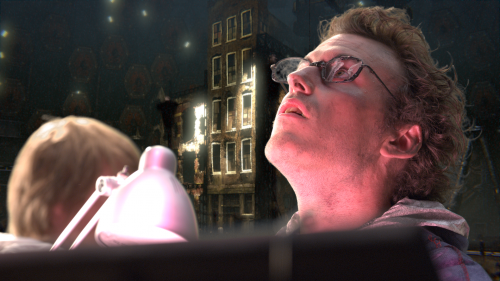
Here's results with the new nodes using images from the Mango Open Movie project.


