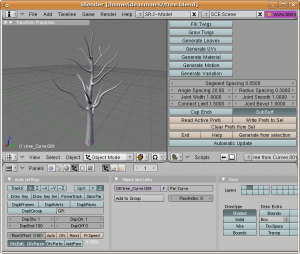
Extensions:2.4/Py/Scripts/Wizards/TreeFromCurves
< Extensions:2.4 | Py | Scripts | Wizards
目次
TreeFromCurves
About
| Name | TreeFromCurves |
|---|---|
| Menu | Wizards/TreeFromCurves... |
| Version | 0.1 2008/05/04 |
| For Blender | 2.46 and newer |
| Author | Campbell Barton (ideasman42) |
| License: | GPL |
Introduction
Usage
Written for the peach project, a tool to assist creating detailed tree's and bushes.
Examples
TODO
Video Tutorial
Tutorial
Getting Started
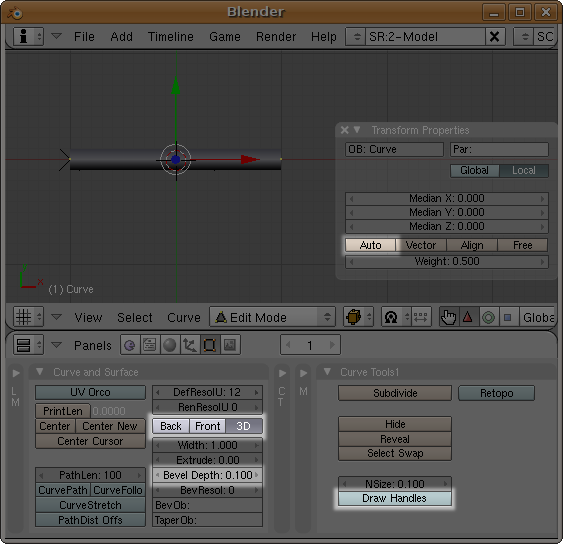
Start by creating the basic curve shape for your tree, steps for suggest setting are.
- In the 3D View. Add, Curve, Bezier Curve
- Set the bevel depth to 0.1 in the Editing buttons. (Notice your curve is now solid)
- Enable the 3D option in the buttons, (we want a 3D tree)
- Disable "Back" and "Front" toggles.
- In the 3D view's transform panel, select the 2 points and press the "Auto" button. for an auto-aligned curve.
Basic Shape
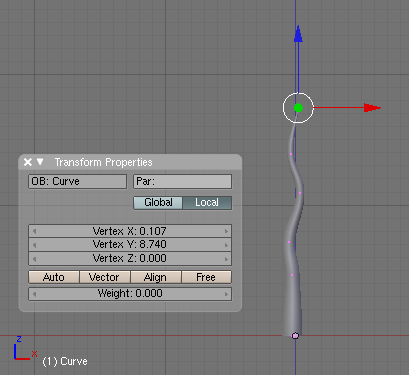
Now you'll need to make the basic shape for the tree by extruding and copying this curve
- Click-Drag the points to make the curve vertical, this will be your tree trunk.
- Select the lower point on the curve and adjust the radius (Alt+S)
- Extrude the top point and adjust the radius to make the member of the tree.
- Scale the curve to make it around 10 units tall (this is affects the re-meshing detail)
Branches
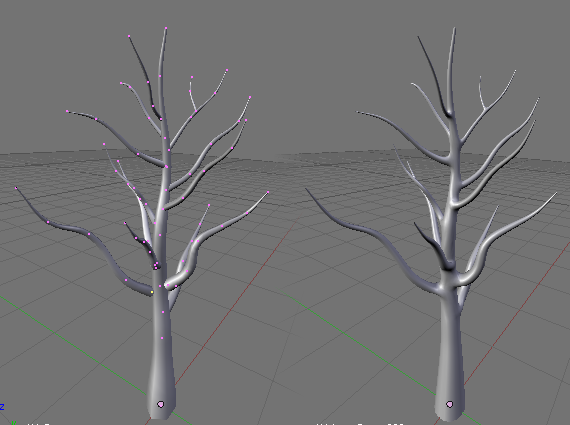
- Duplicate some of the points on the trunk and extrude them to make branches
- Select the branches and lower the radius (Alt+S)
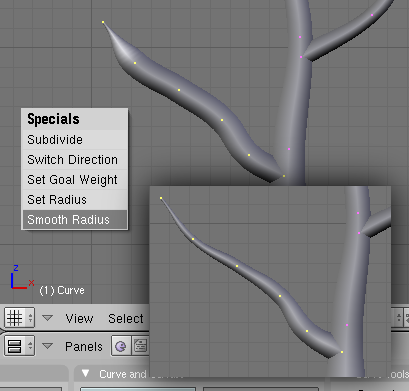
- You may also want to taper the radius from one end of the branch to another. The Curve Specials menu (WKey) now has a Smooth Radius option that blends the radius between selected points.
Spend some time to place the branches, until you have something that looks like a tree.
