「Doc:2.6/Manual/3D interaction/Transformations/Advanced/To Sphere」の版間の差分
(相違点なし)
|
2012年11月11日 (日) 10:57時点における版
To Sphere
Mode: Edit mode
Hotkey: ⇧ ShiftAltS
Menu: Mesh » Transform » To Sphere
Description
The To Sphere transformation will give the selection spherical qualities. The Suzanne with increasing sphericity image below shows the results of applying the To Sphere transformation to the Suzanne mesh.
Usage
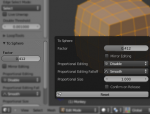
Select the elements you want to operate on and activate the To Sphere transform function. The To Sphere option can be invoked from the Mesh » Transform » To Sphere menu option or by pressing ⇧ ShiftAltS. The amount of sphericity given to the selection can be determined interactively by moving the mouse or by typing a number between 0 and 1. Pressing ↵ Enter will confirm the transformation. The confirmed transformation can be further edited by pressing F6 or by going into the Toolshelf (T) and altering the Factor slider provided that no other actions take place between the To Sphere transform confirmation and accessing the slider.
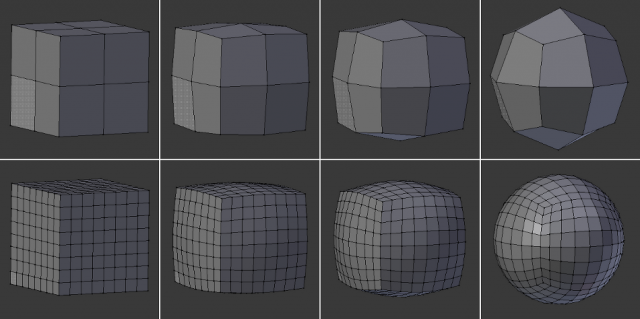
Note that the result of the To Sphere transform is also dependant on the number of selected mesh elements (vertices, faces etc). As can be seen in the below image, the result will be smoother and more spherical when there are more mesh elements available to work with.
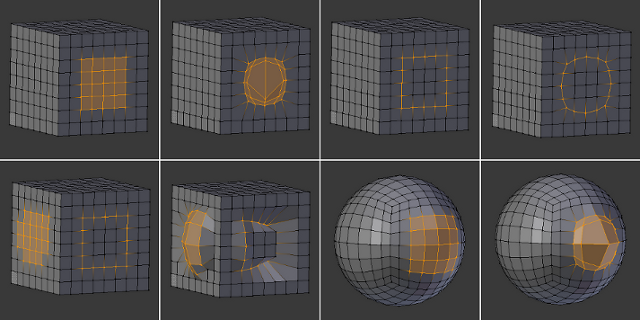
The To Sphere transform will generate different results depending on the number and arrangement of elements that were selected (as shown by the below image).


