Doc:2.6/Manual/Physics/Particles/Hair
Hair
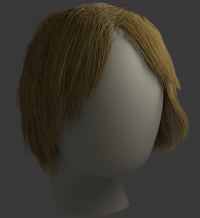
When set to hair mode, particle system creates only static particles, which may be used for hair, fur, grass and the like.
Growing
The first step is to create the hair, specifying the amount of hair strands and their lengths.
The complete path of the particles is calculated in advance. So everything a particle does a hair may do also. A hair is as long as the particle path would be for a particle with a lifetime of 100 frames. Instead of rendering every frame of the particle animation point by point there are calculated control points with an interpolation, the segments.
Styling
The next step is to style the hair. You can change the look of base hairs by changing the Physics Settings.
A more advanced way of changing the hair appearance is to use Children. This adds child hairs to the original ones, and has settings for giving them different types of shapes.
You can also interactively style hairs in Particle Mode. In this mode, the particle settings become disabled, and you can comb, trim, lengthen, etc. the hair curves.
Animating
Hair can now be made dynamic using the cloth solver. This is covered in the Hair Dynamics page.
Rendering
Blender can render hairs in several different ways. Materials have a Strand section, which is covered in the materials section in the Strands Page.
Hair can be rendered as a Path, Object, or Group. See Particle Visualization for descriptions.
Hair can also be used as a basis for the Particle Instance modifier, which allows you to have a mesh be deformed along the curves, which is useful for thicker strands, or things like grass, or feathers, which may have a more specific look.
Options
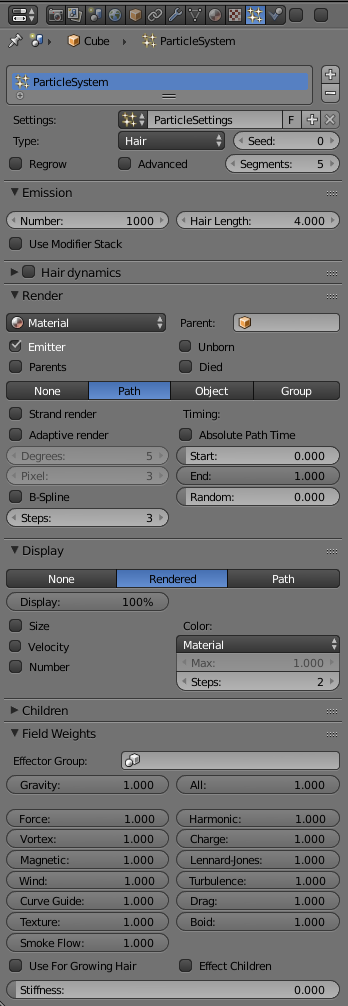
- Regrow
- Regrow Hair for each frame.
- Advanced
- Enables advanced settings which reflect the same ones as working in Emitter mode.
- Segments
- Number of hair segments.
- In between the control points the segments are interpolated. The number of control points is important:
- for the softbody animation, because the control points are animated like vertices, so more control points mean longer calculation times.
- for the interactive editing, because you can only move the control points (but you may recalculate the number of control points in Particle Edit Mode).
- 10 Segments should be sufficient even for very long hair, 5 Segments are enough for shorter hair, and 2 or 3 segments should be enough for short fur.
Emission
- Number
- Set the amount of hair strands. Use as little particles as possible, especially if you plan to use softbody animation later. But you need enough particles to have good control. For a “normal” haircut I found some thousand (very roughly 2000) particles to give enough control. You may need a lot more particles if you plan to cover a body with fur. Volume will be produced later with Children.
- Hair Length
- Length of the hair.
Hair Dynamics
Settings for adding movement to hair see Hair Dynamics.
Render
- B-Spline
- Interpolate hair using B-Splines. This may be an option for you if you want to use low Render values. You loose a bit of control but gain smoother paths.
- Steps
- Set the number of subdivisions of the rendered paths (the value is a power of 2). You should set this value carefully, because if you increase the render value by two you need four times more memory to render. Also the rendering is faster if you use low render values (sometimes drastically).
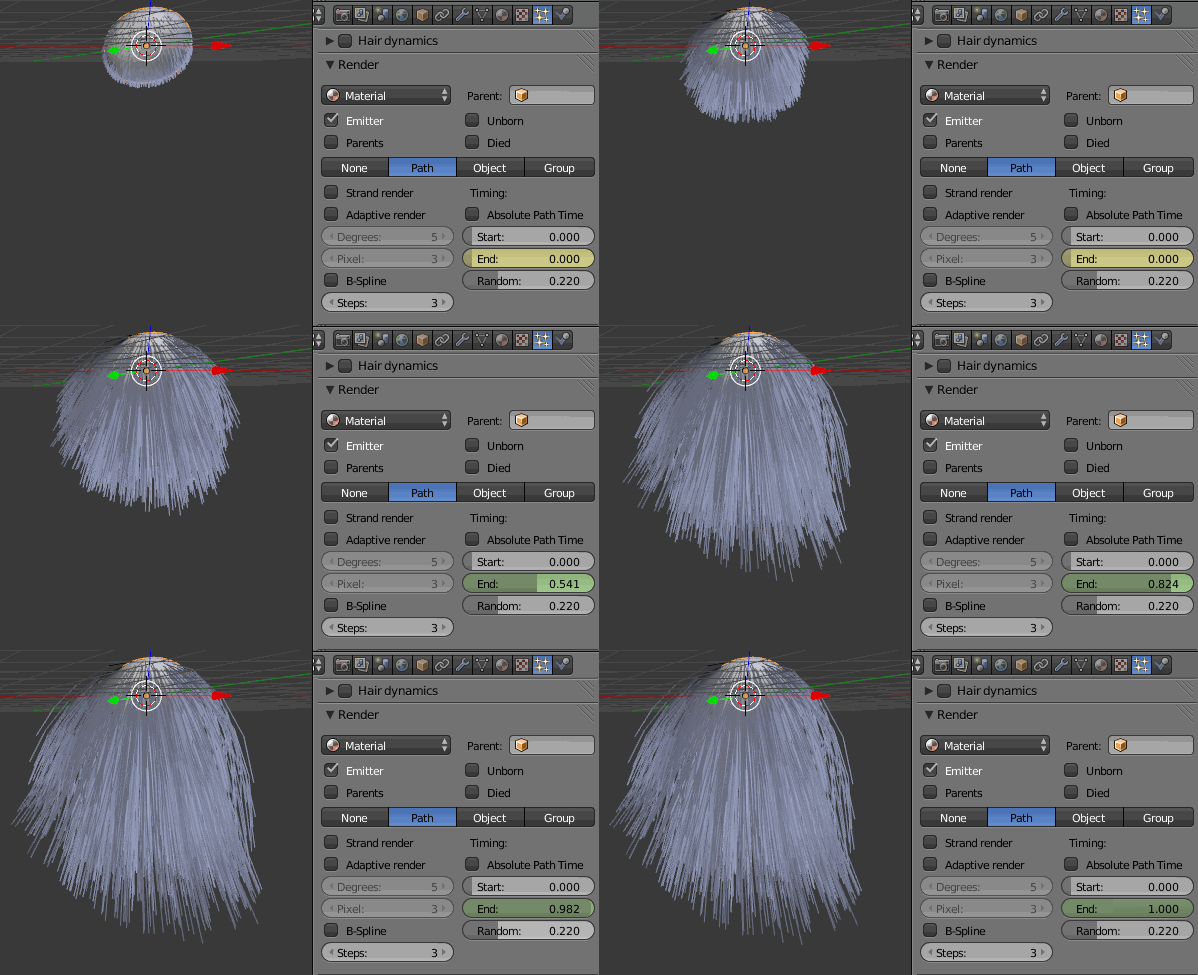
- Timing
- Sets hair growing settings:
- Absolute Path Time
- Path timing is in absolute frames.
- Start
- Start time of the drawn path.
- End
- End time of the drawn path.
- Random
- Give the path length a random variation.
Display
- Rendered
- Draw hair as curves.
- Path
- Draw just the end points if the hairs.
- Steps
- How many steps paths are drawn with (power of 2).
Children
See more detail: Children.
Fields Weights
- Use For Growing Hair
- Use force fields when growing hair.
- Effect Children
- Apply effectors to hair children.
- Stiffness
- Hair stiffness for effectors.
Common Workflow
- Set the particle system type as Hair.
- Set Segments number: it's about the number of control points the hairs have. "5" is generally enough unless you have extra long hair.
- Set Hair Length.
- Go to Edit mode.
- Select faces from wich is growing a hair.
- Create a Vertex Group from selected faces vertices.
- Select this Vertex Group in Density field of Vertex Groups panel of Particles context.
Animating hair growing
- Go to the first frame "1".
- Set Timing: End setting value in Render panel of Particles context on «0».
- RMB
 on this setting and click Insert Keyframe.
 - Go to a desired frame, for example, "50".
- Set Timing: End setting value in Render panel of Particles context on «1».
- RMB
 on this setting and click Insert Keyframe again.
See also
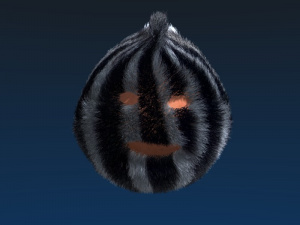
- Fur Tutorial, which produced (Particle systems may get hairy…). It deals especially with short hair.
- Blender Hair Basics, a thorough overview of all of the hair particle settings.


